Deploy DingTalk Bot
Deploy LangBot to DingTalk.
Create Bot
Enter the DingTalk Developer Backend, log in and enter the organization. After successful login, enter the open platform, which looks like this: 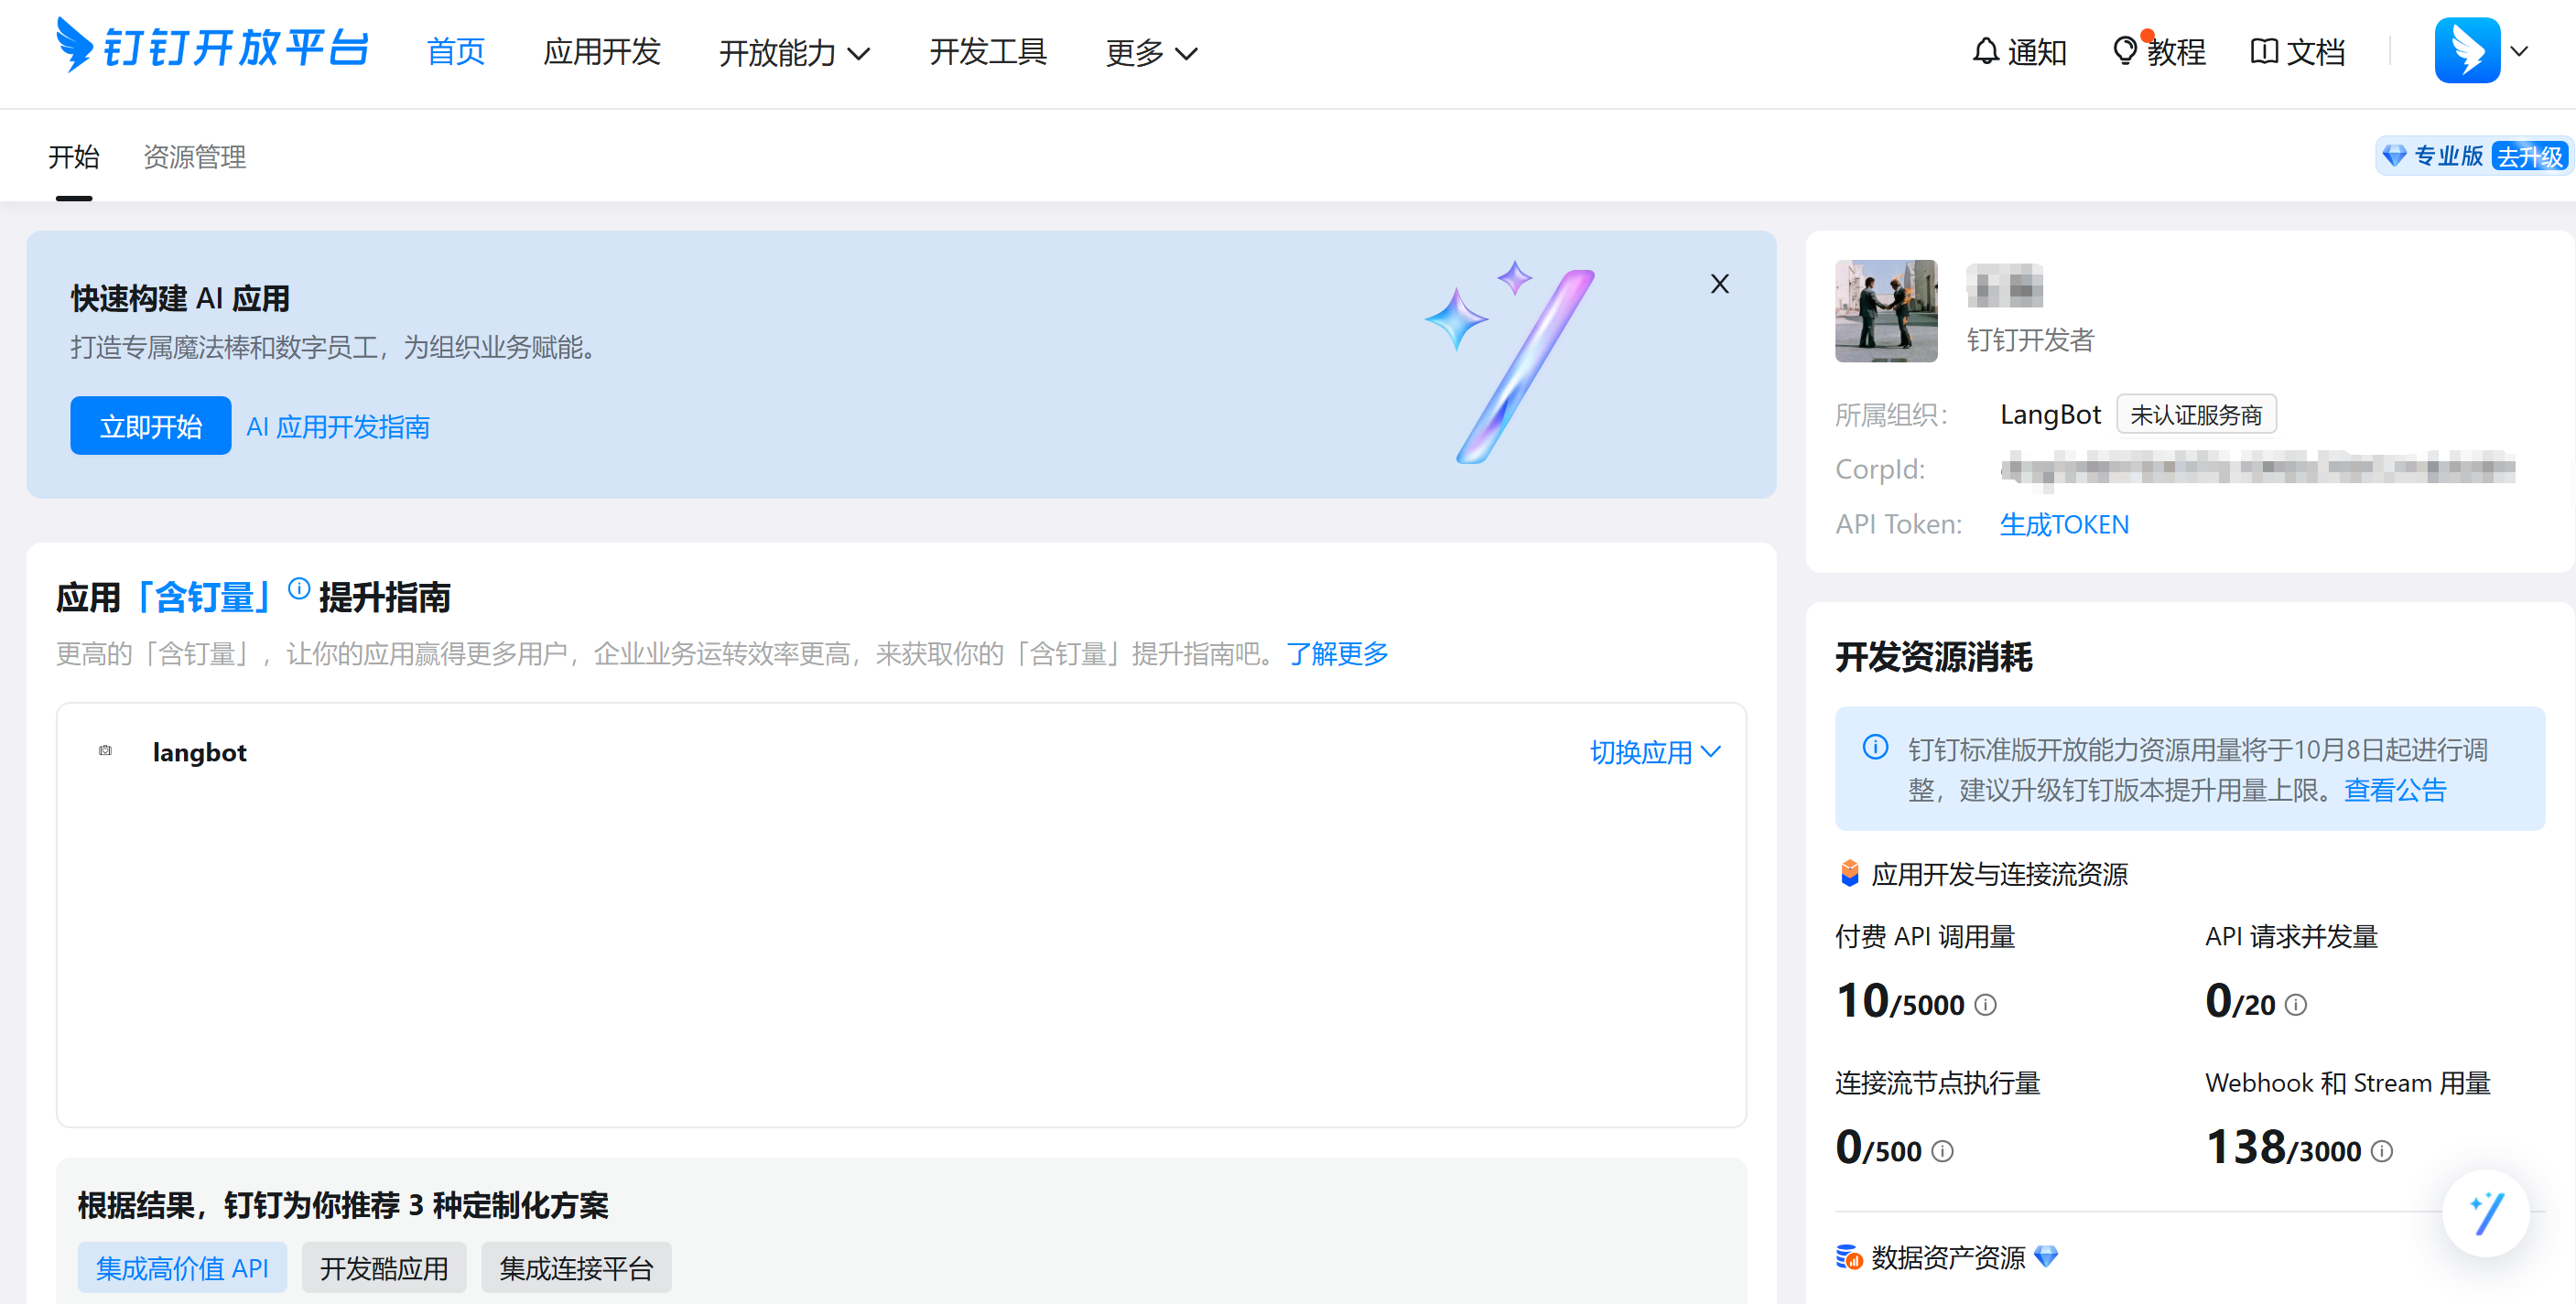
Click Application Development at the top, then click the blue button Create Application on the right, fill in the basic information of the bot, and click save.
Enter the bot's backend, for example, if we have a bot named langbot2, its management page looks like this: 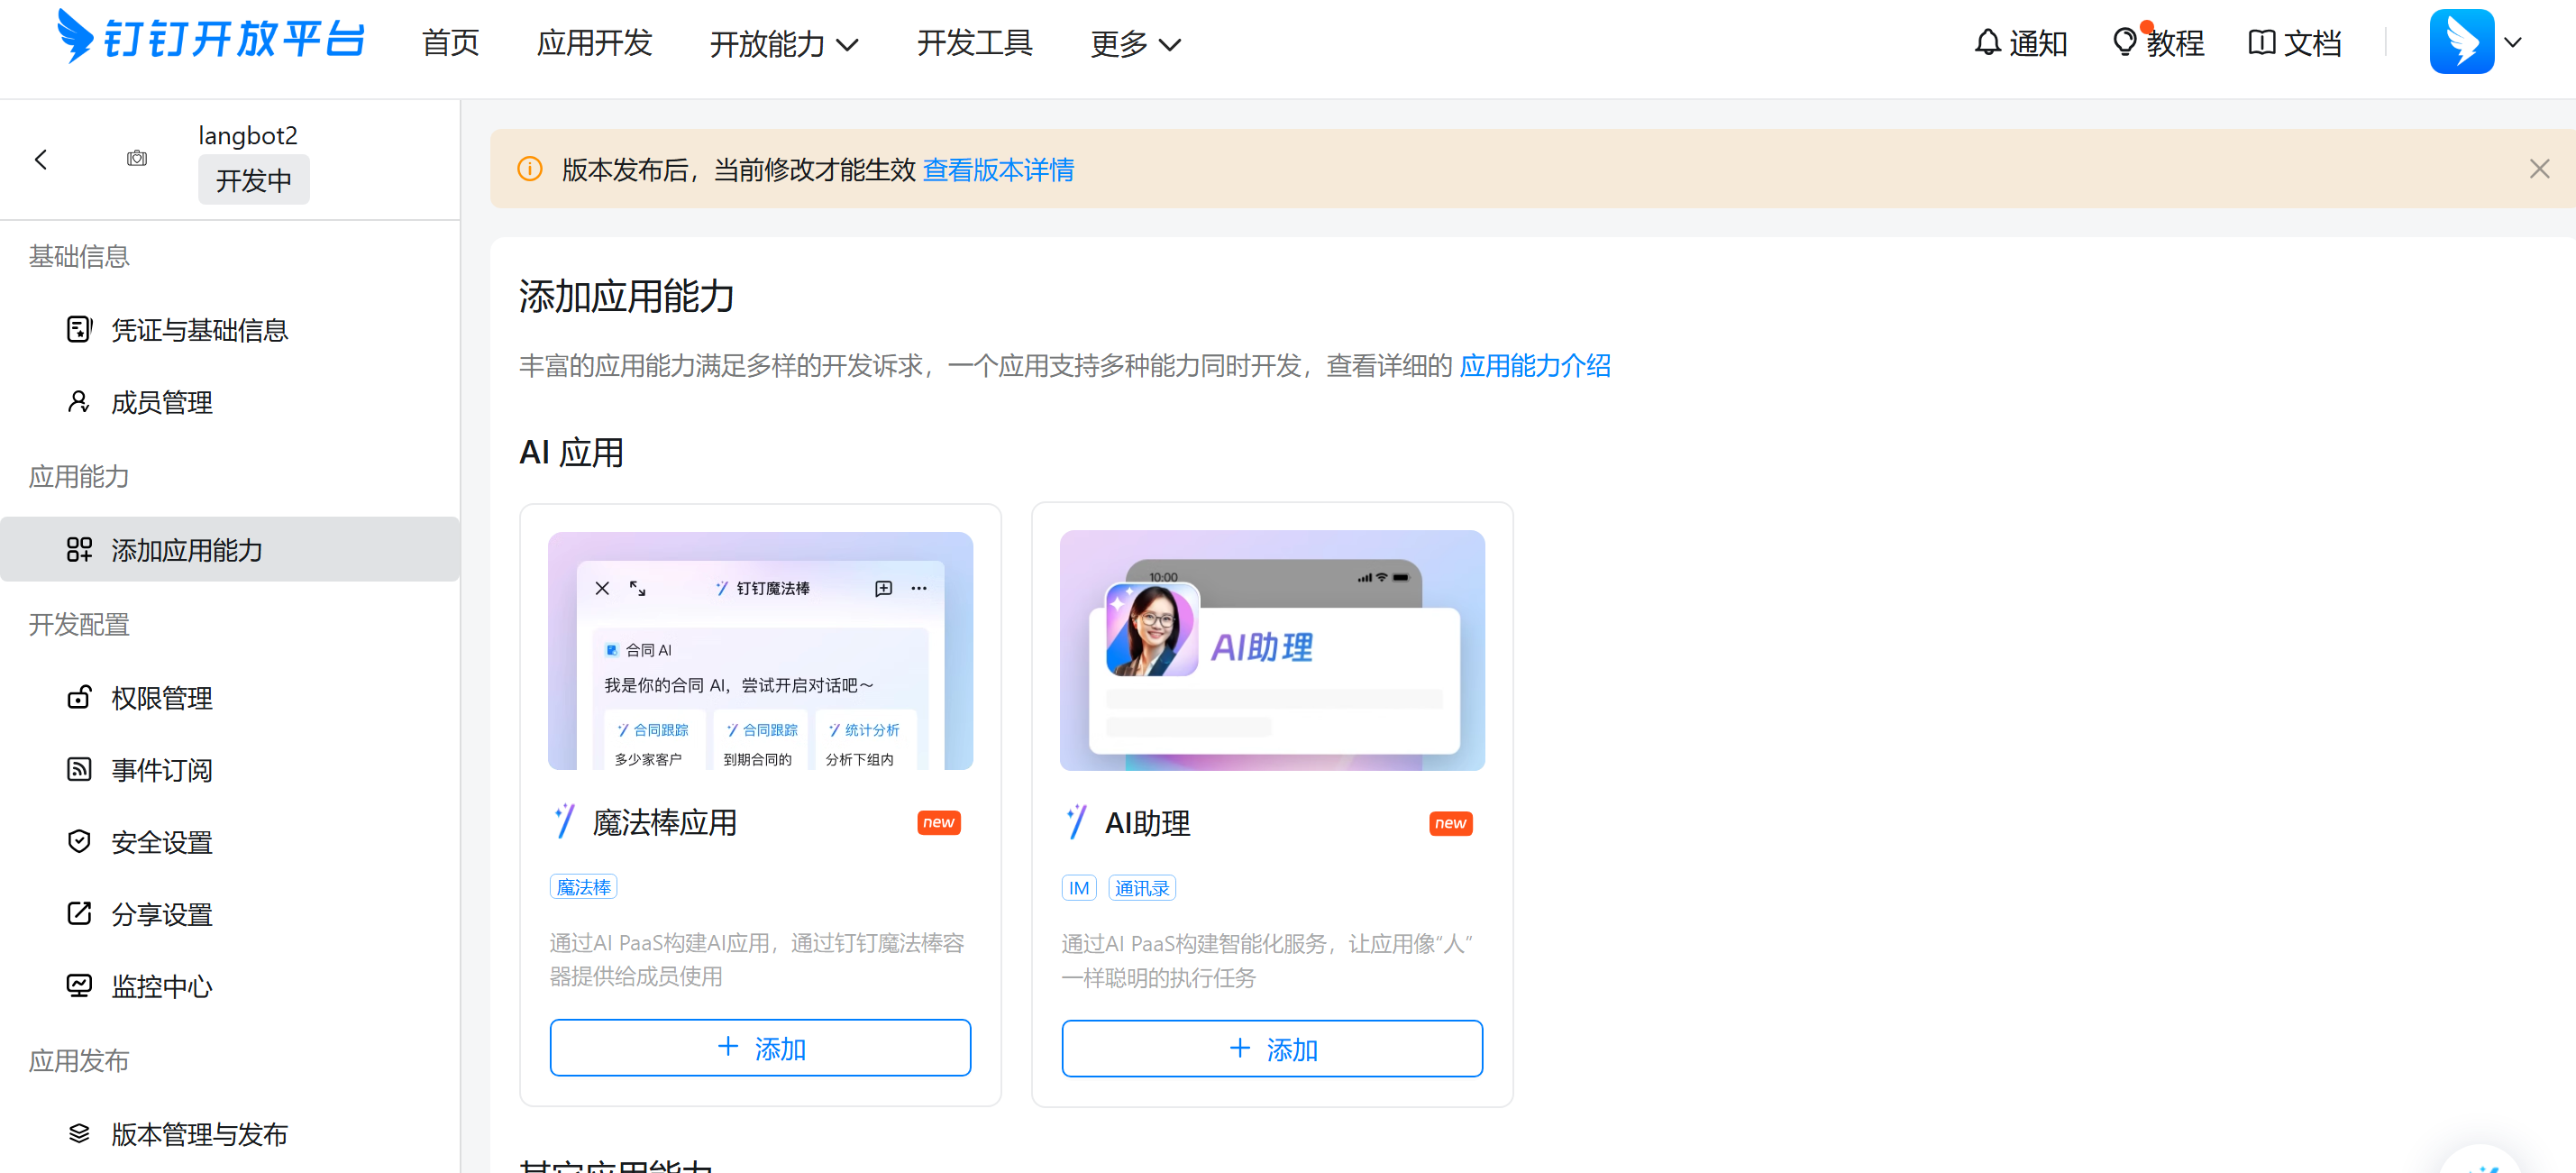
Configure Bot
Click Add Application Capability, Other Application Capabilities, Configure in Robot, click configure and fill in the information, as shown below: 
Click Publish at the bottom of the page, after successful publication, click Version Management and Publishing at the bottom left of the bot page, as shown: 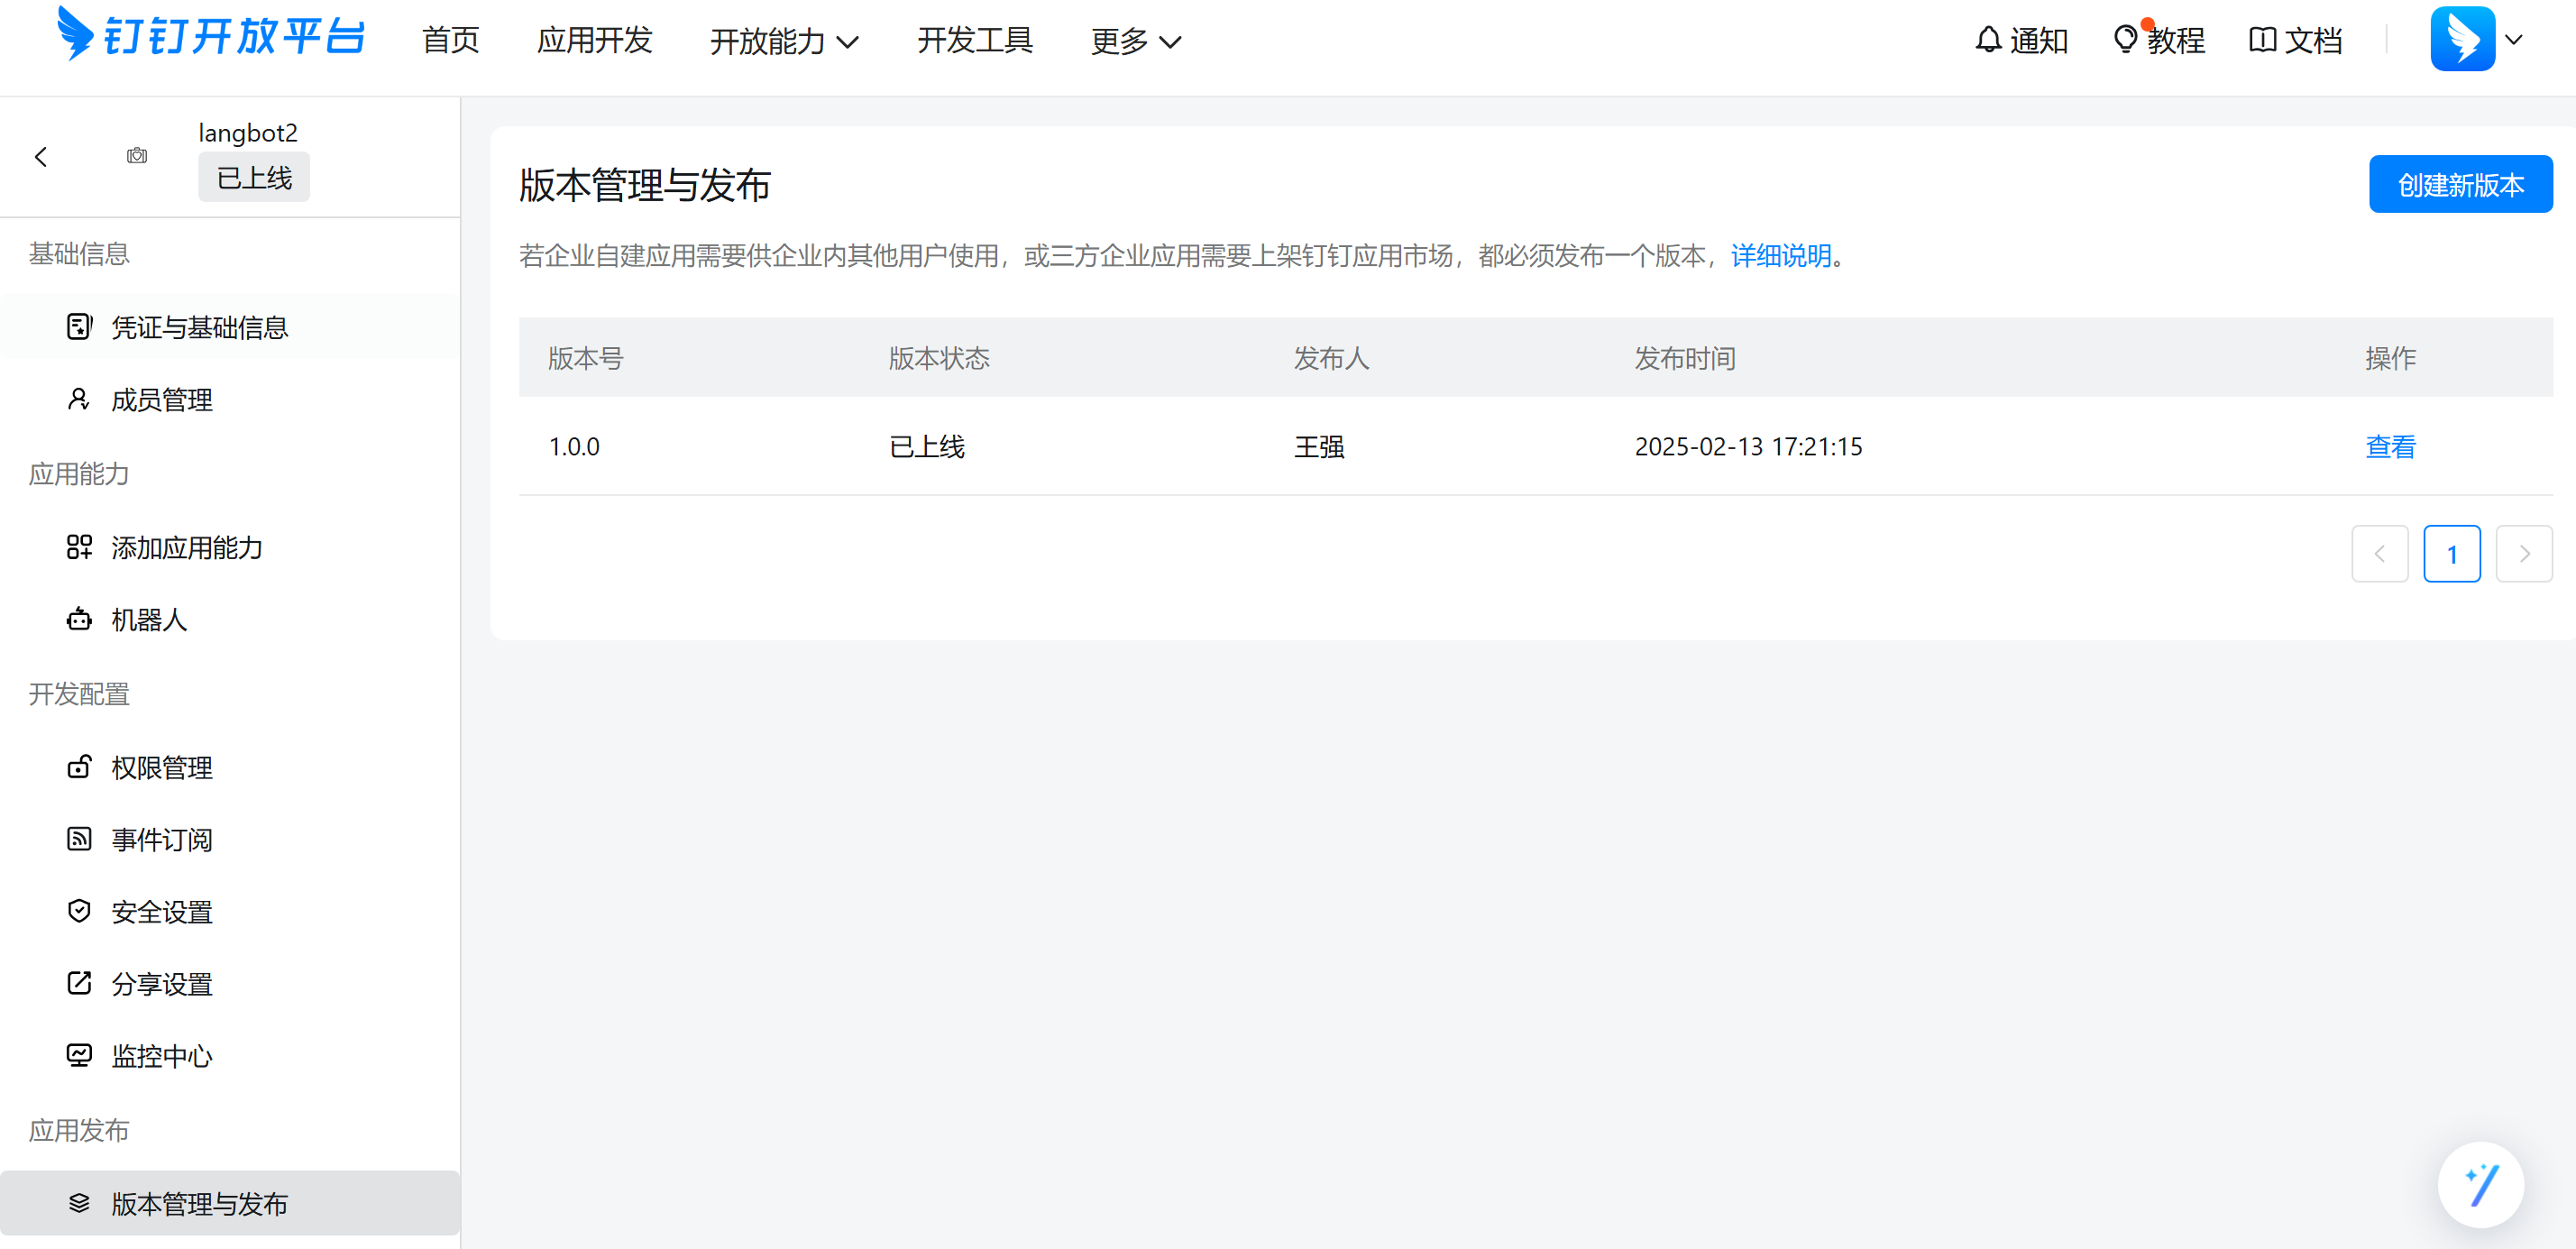
If this is the first time creating a bot, the right side is empty, you need to click Create New Version, set information in it, then set Application Visibility Range, and click save.
Click Event Subscription, change the push method to Stream Mode Push.
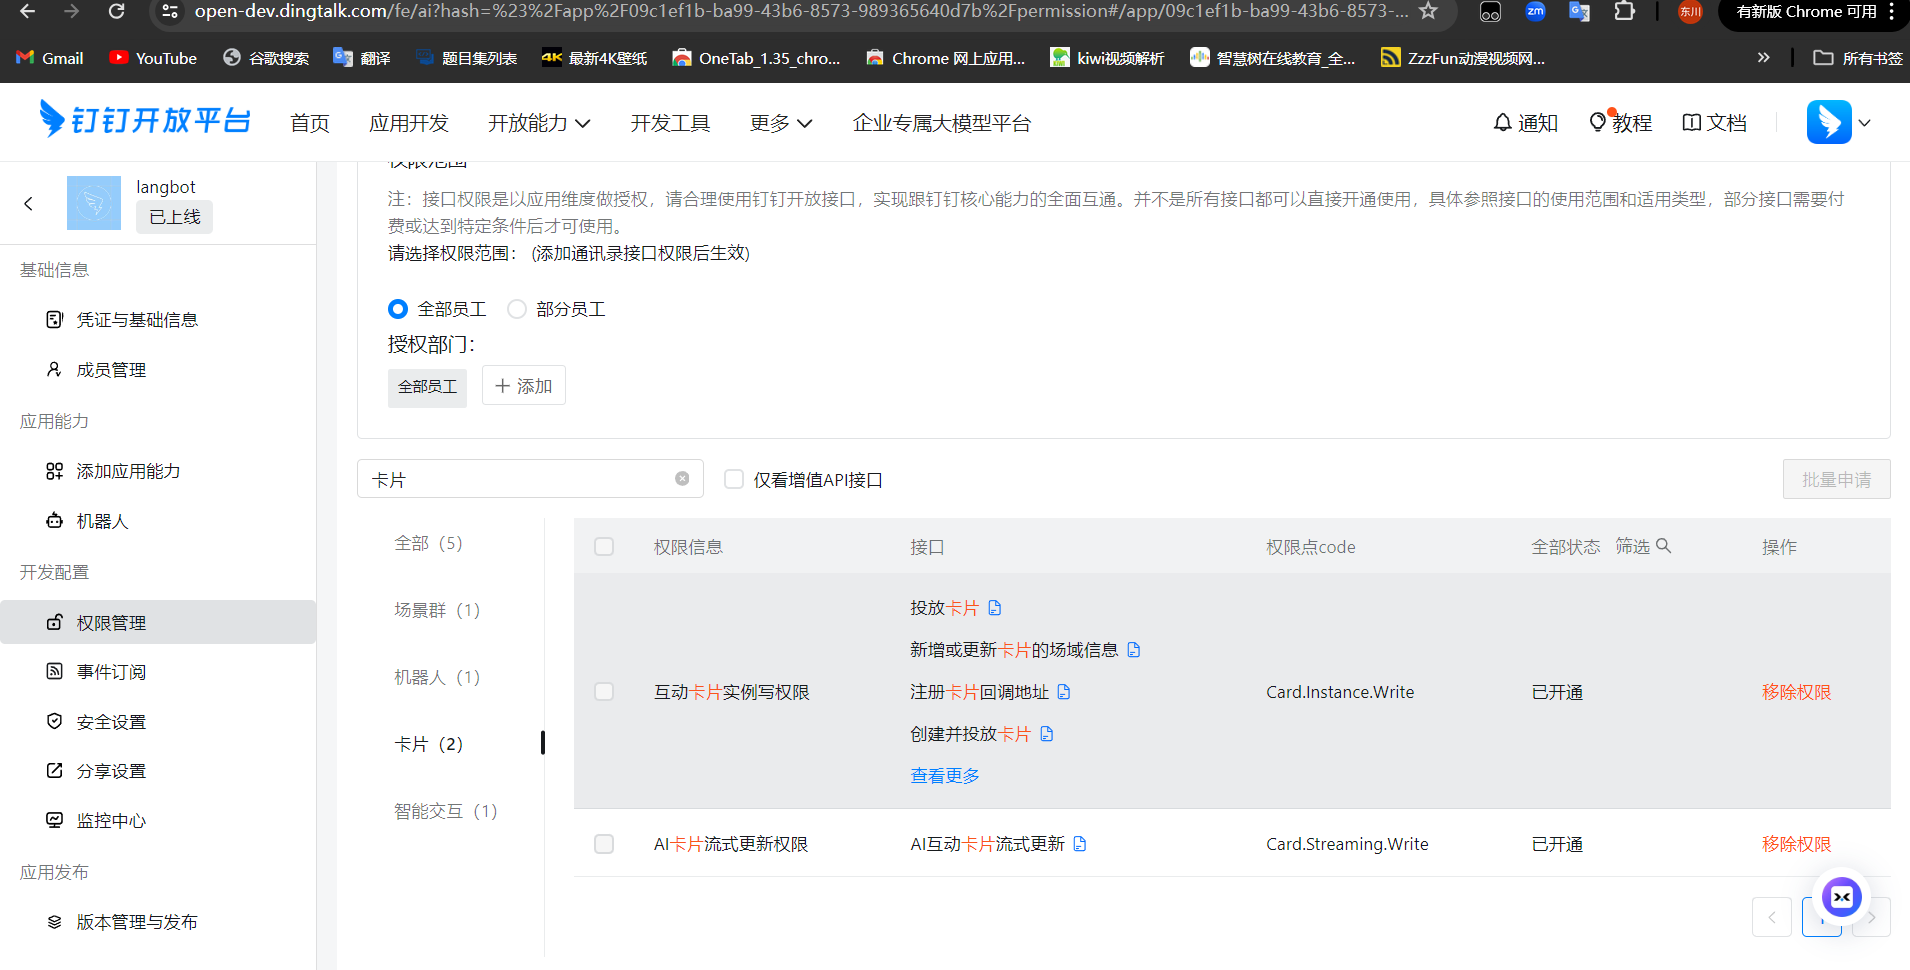
If card streaming is needed, you must apply for card permissions in the permission management, as shown: 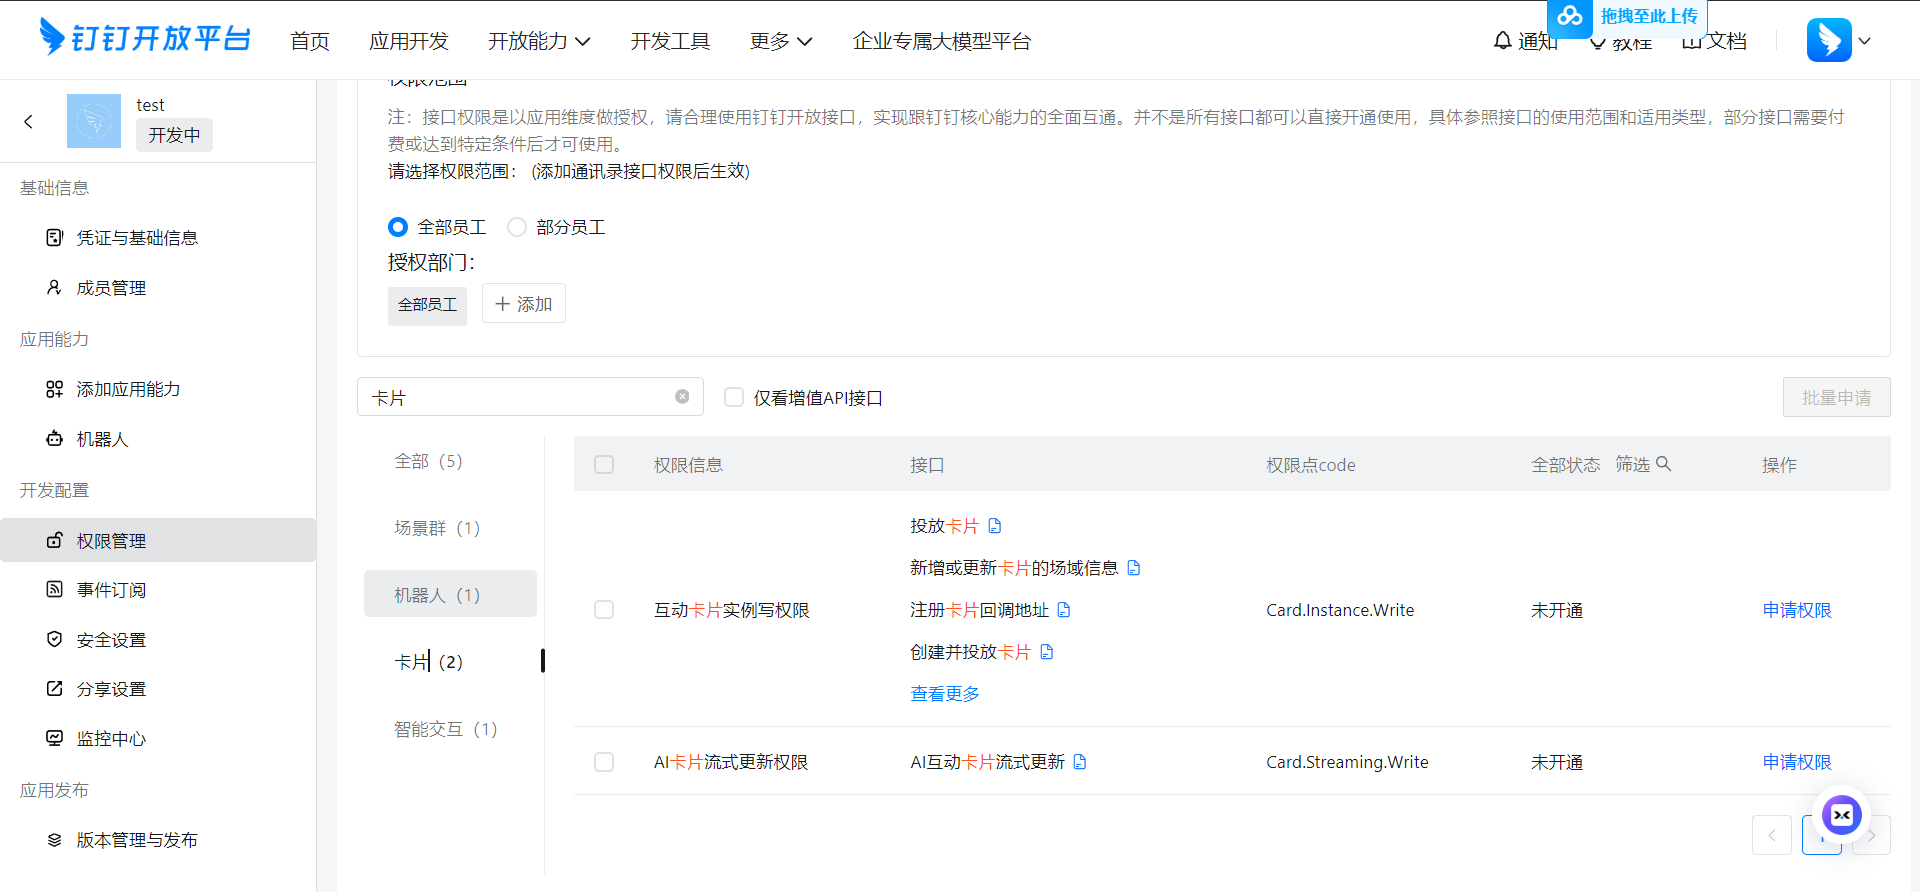
Additionally, for card messages you mainly need to create a card template and record the template ID to fill in the configuration, the process is as follows:
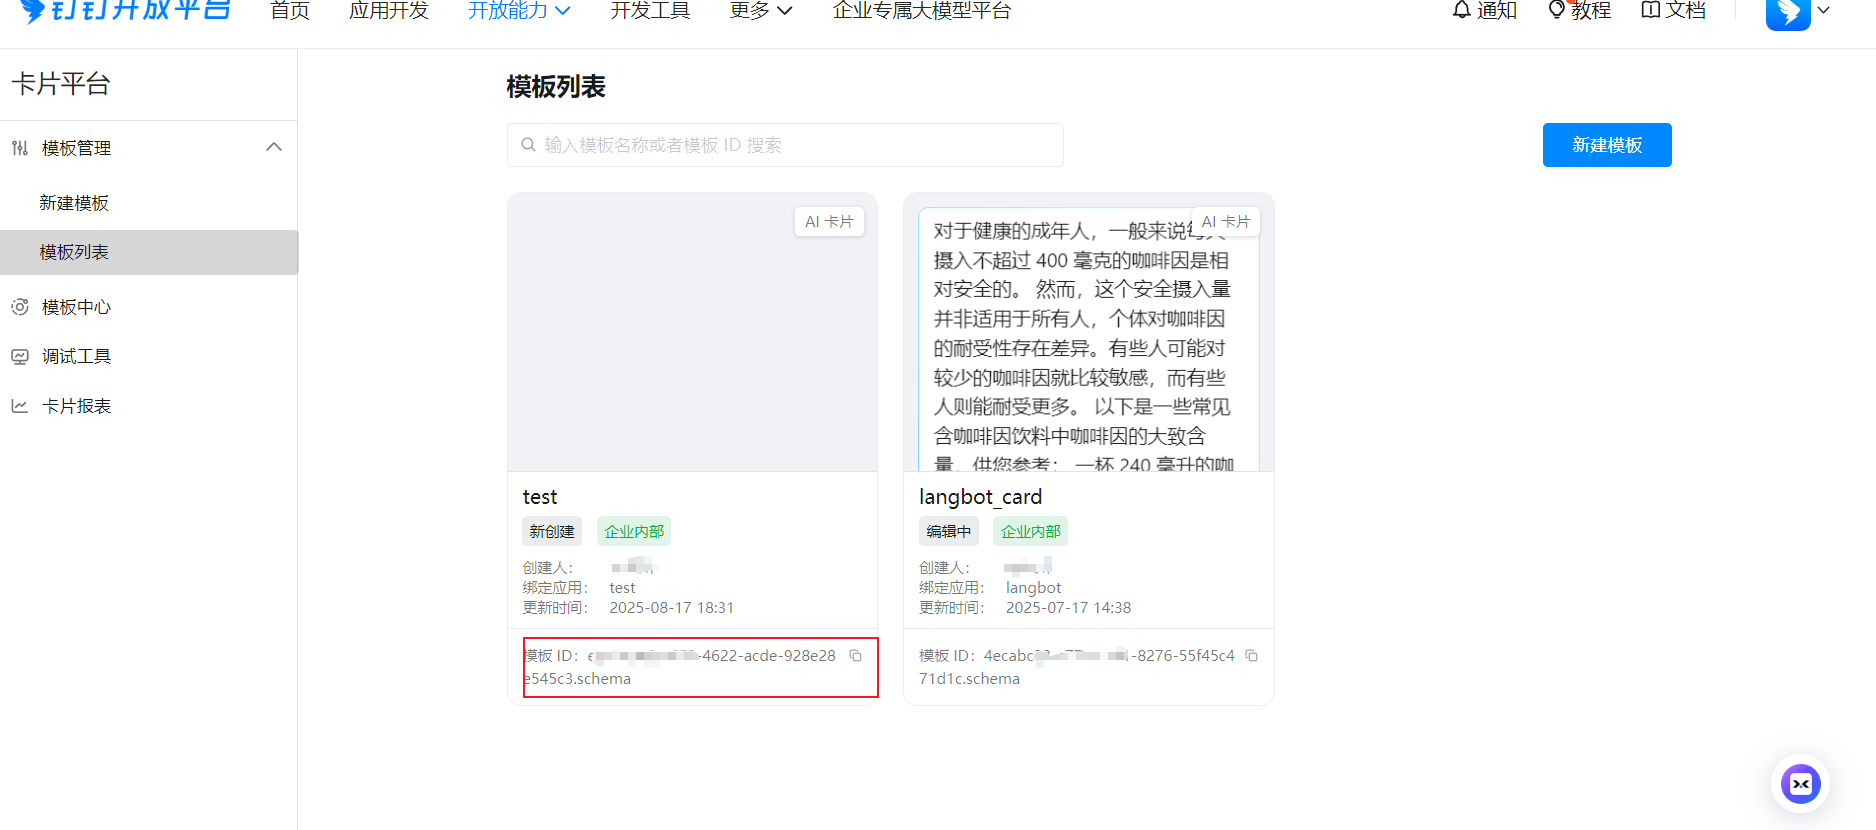
The card content template ID can be obtained by logging into the developer backend > Card Platform
Fill in information when creating a new template, as shown: 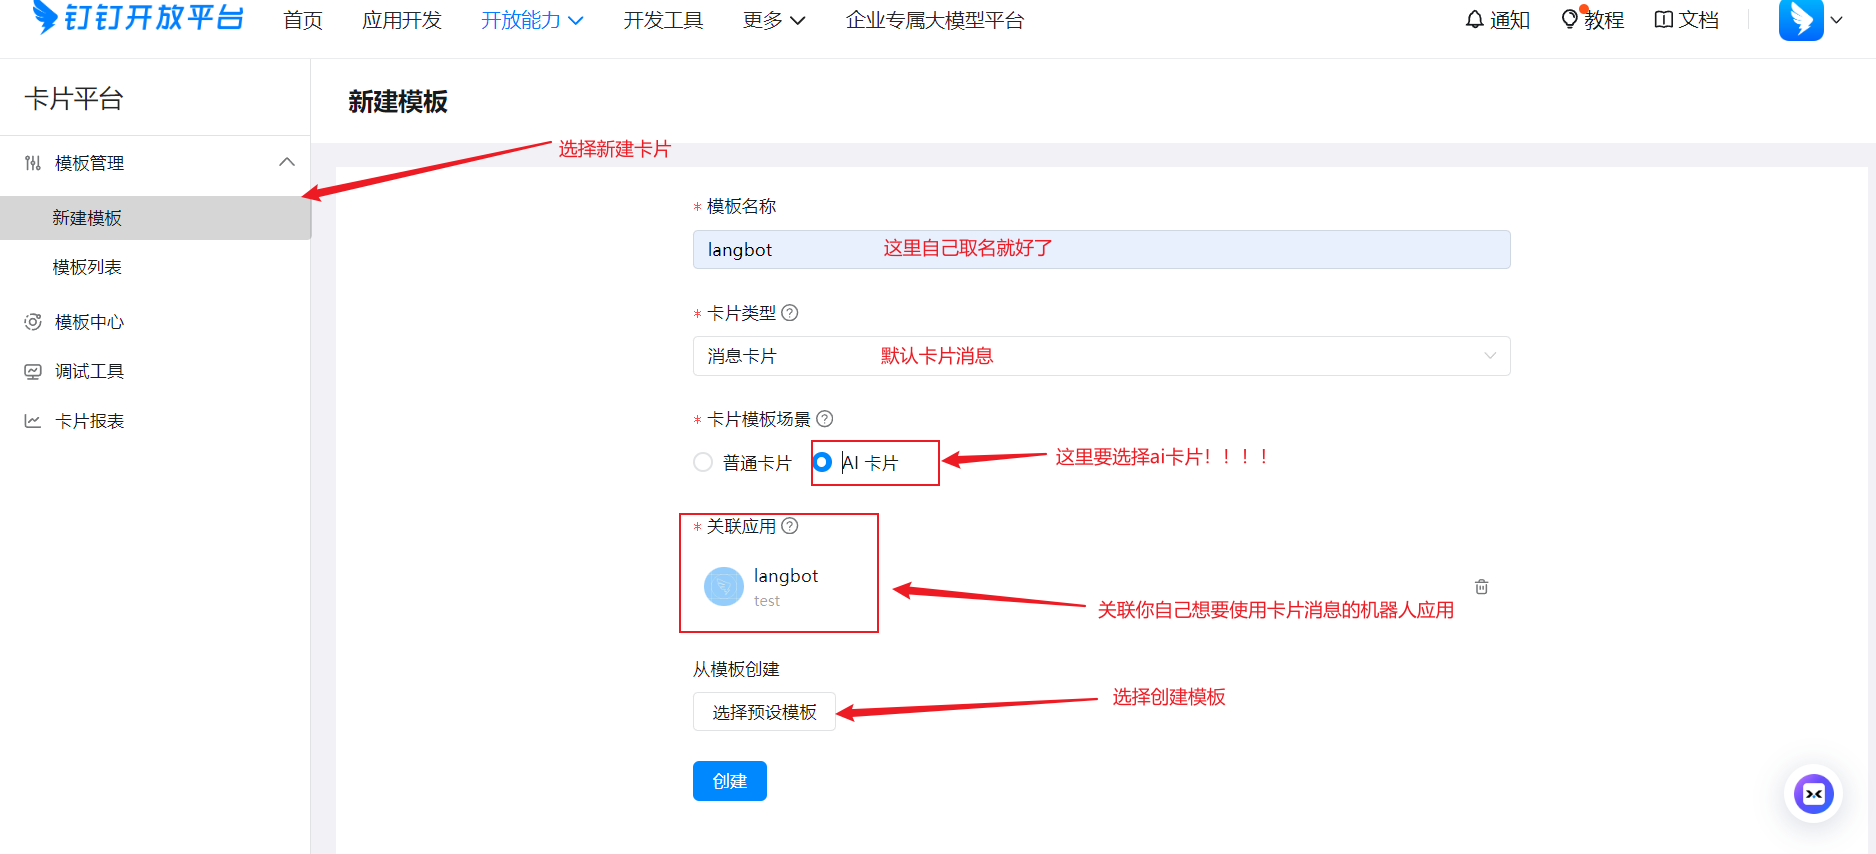
Select a preset template (just choose the first one and modify the template content later), as shown: 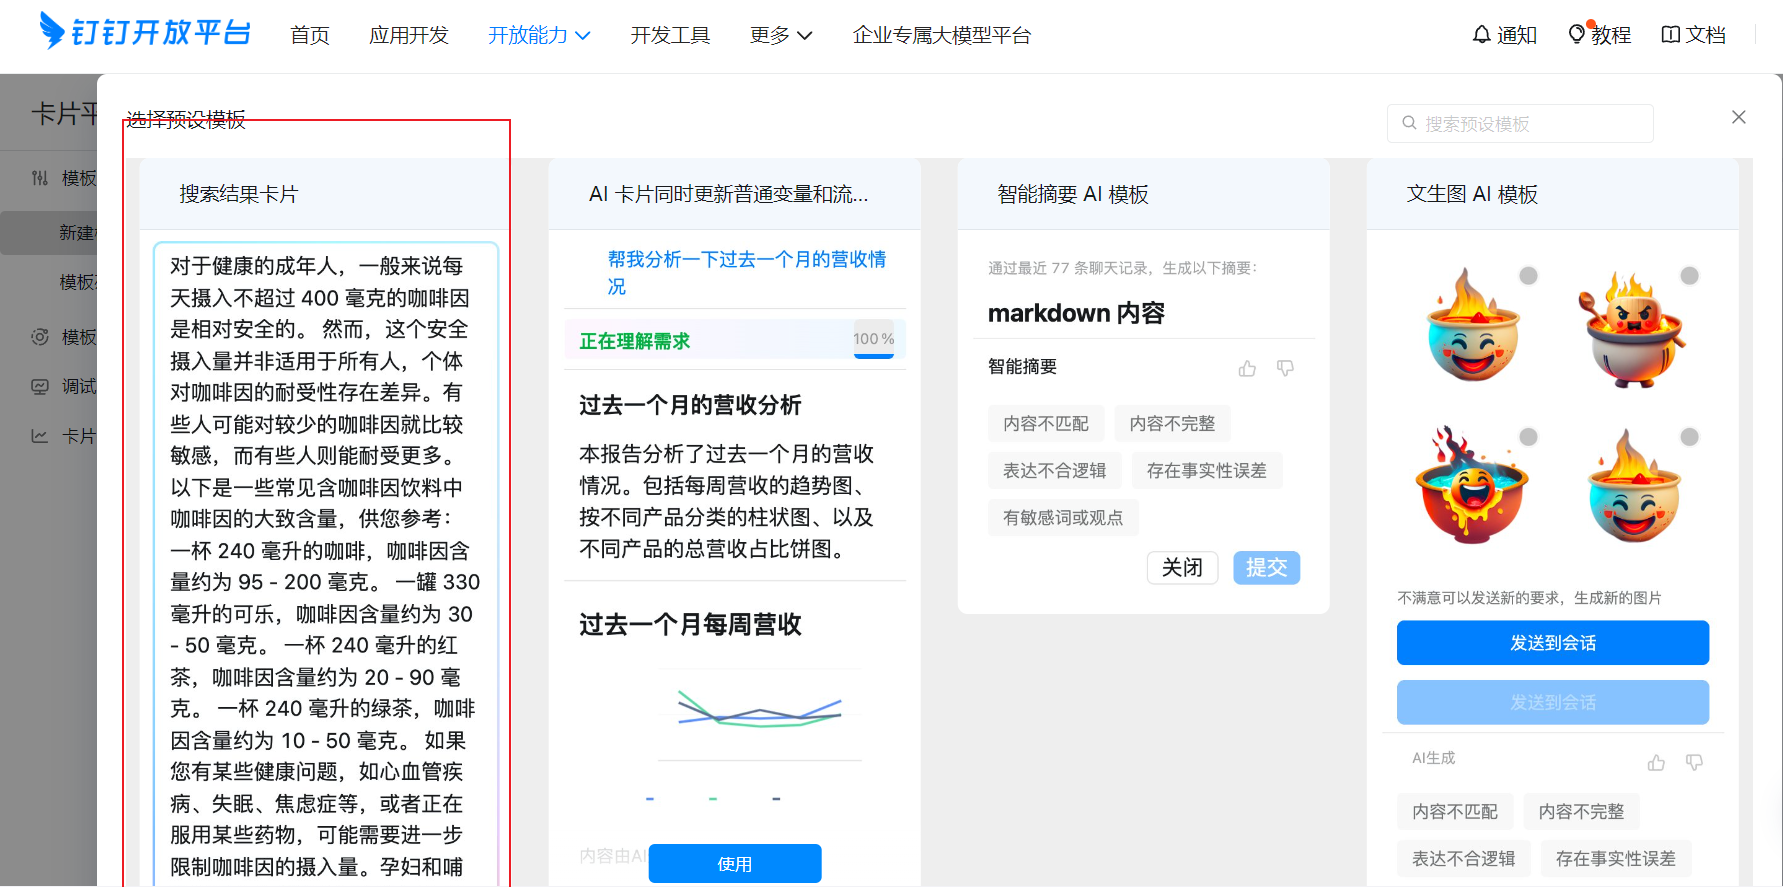 Click Use
 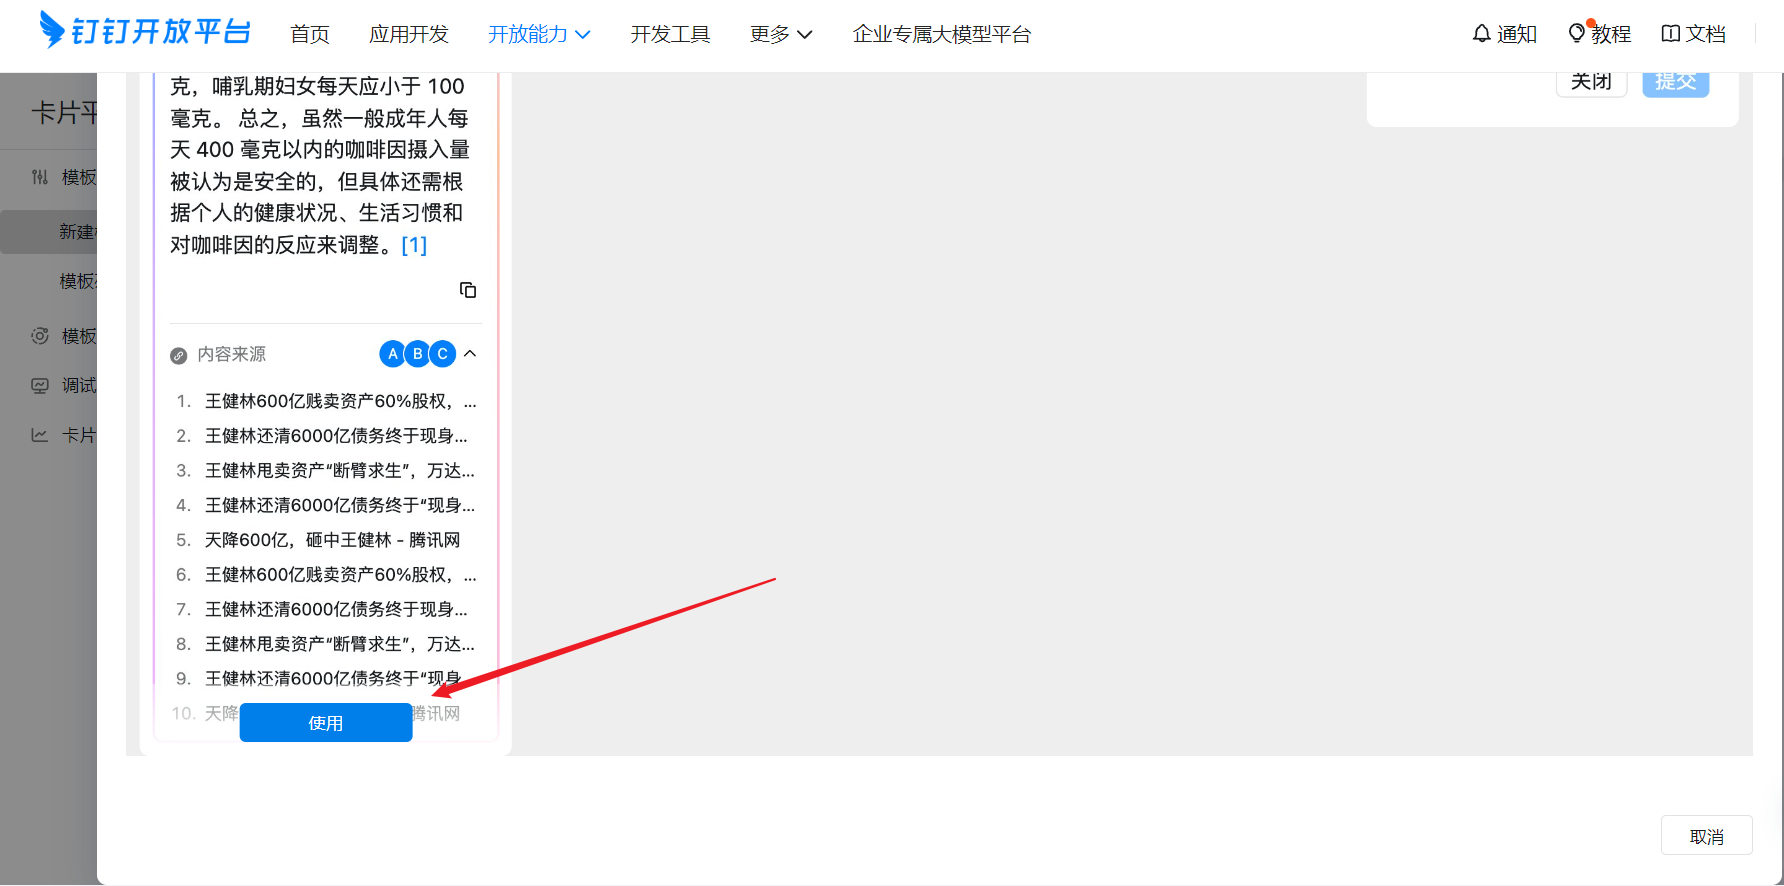 Create
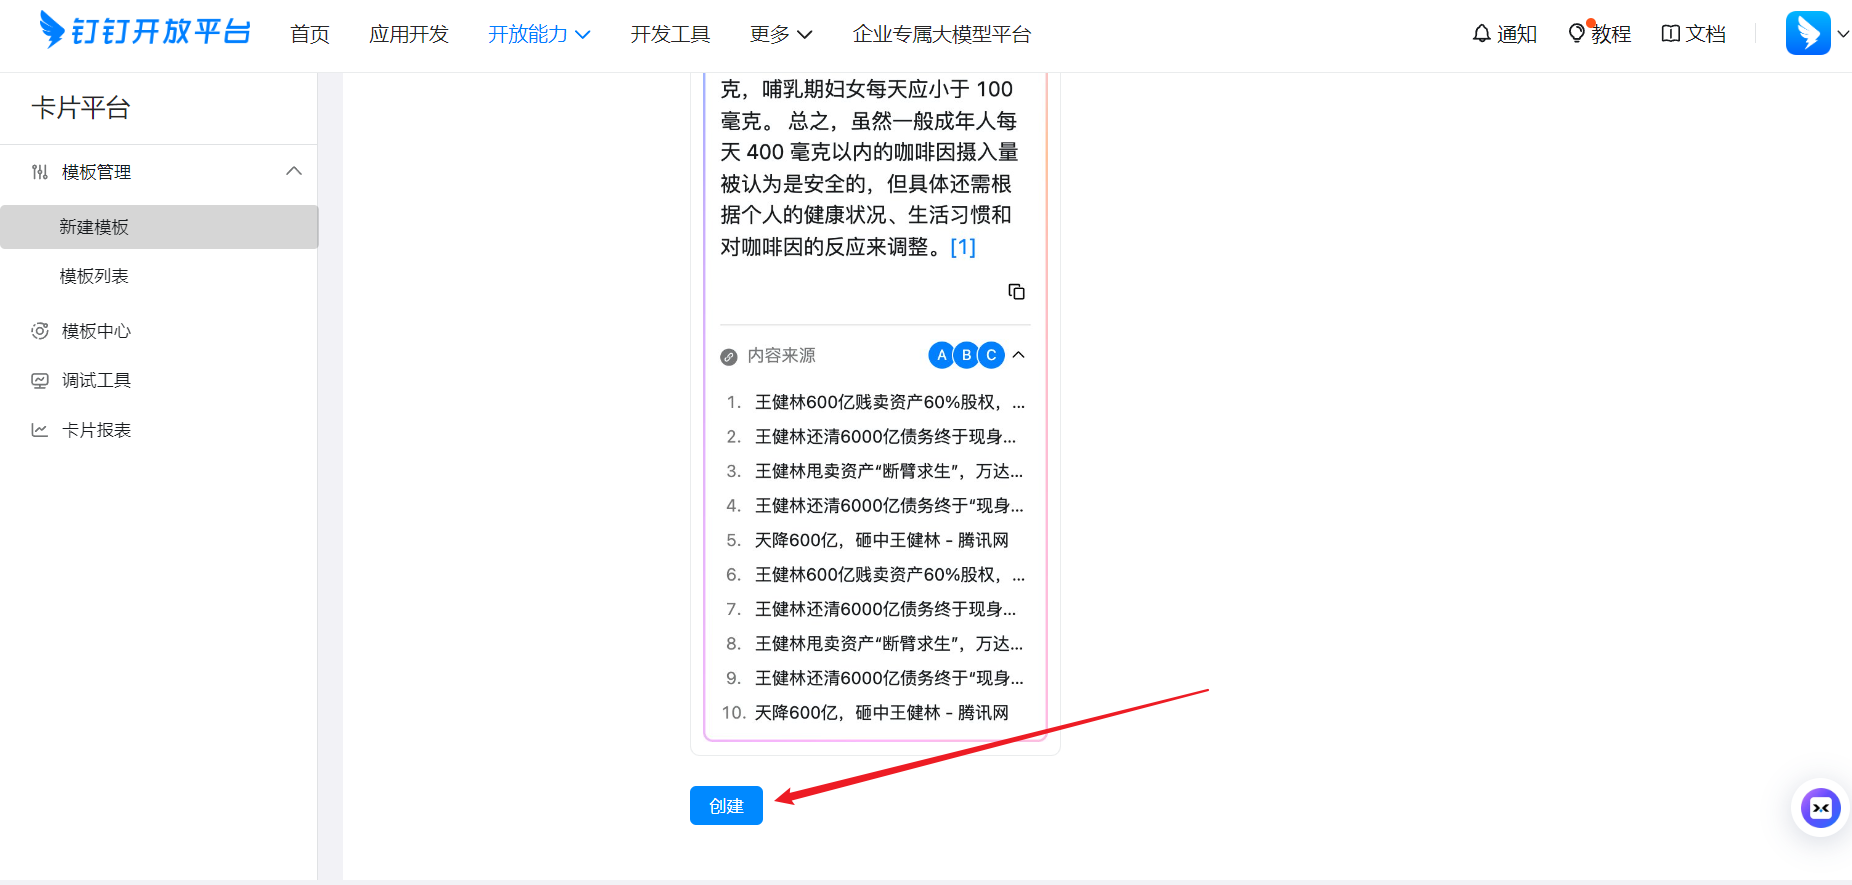
After clicking Create you'll be redirected to edit the template. As shown, you can freely edit your desired card message: 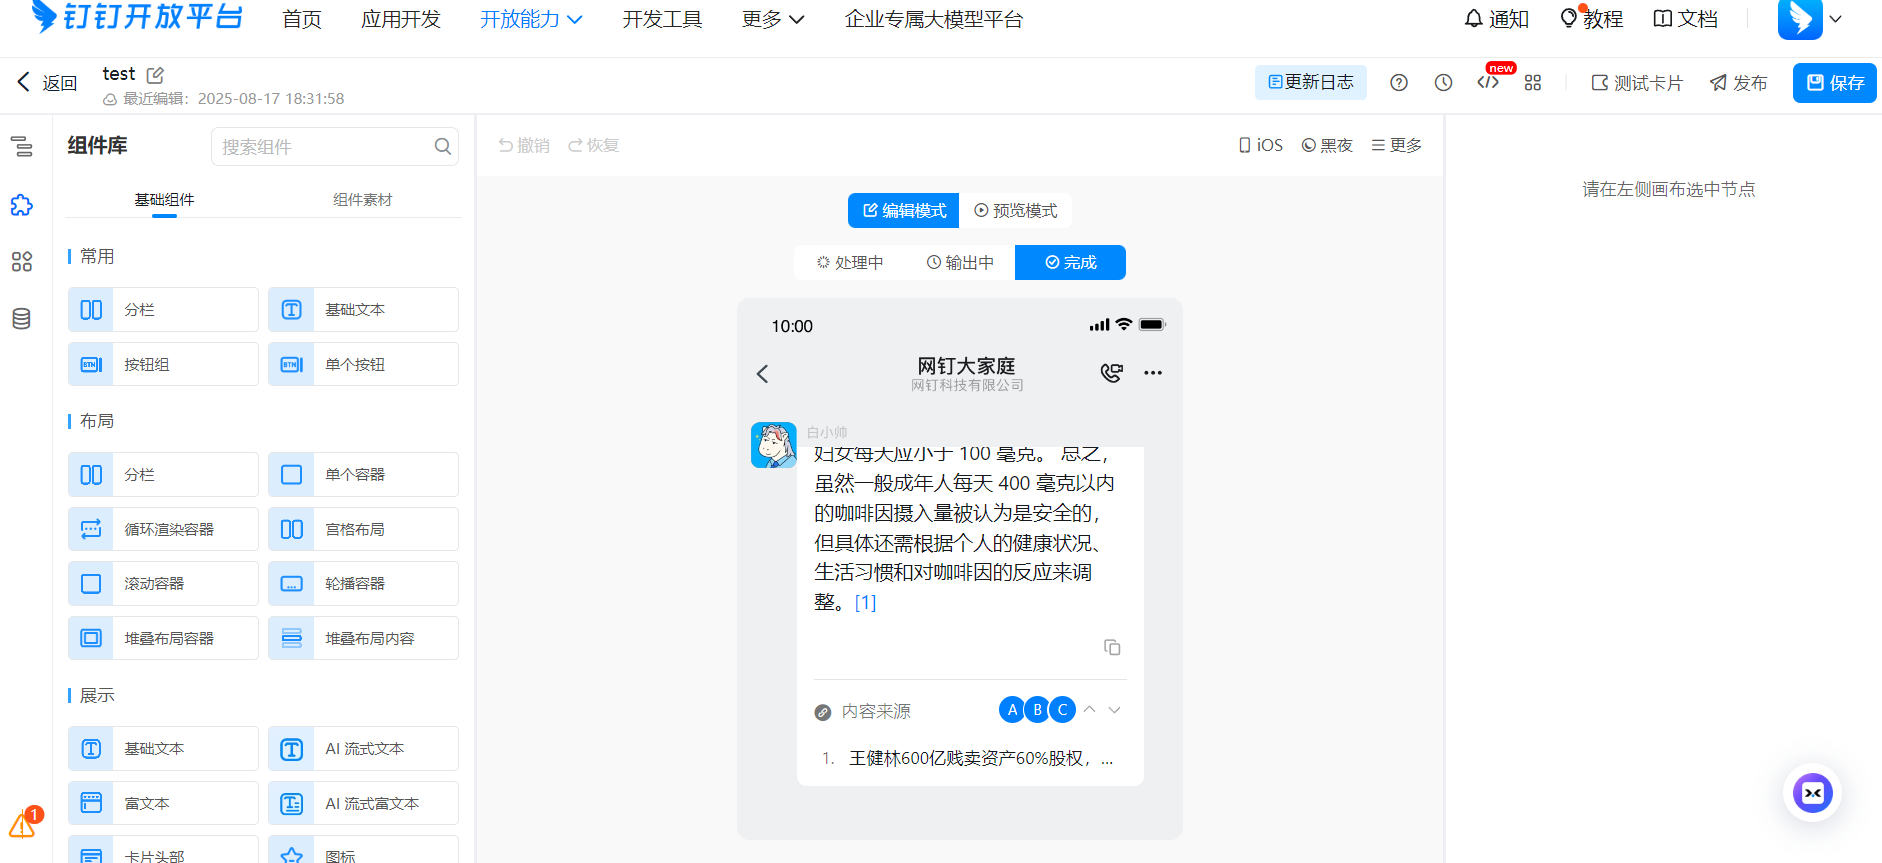
For the main content, keep the default 'content' unchanged: 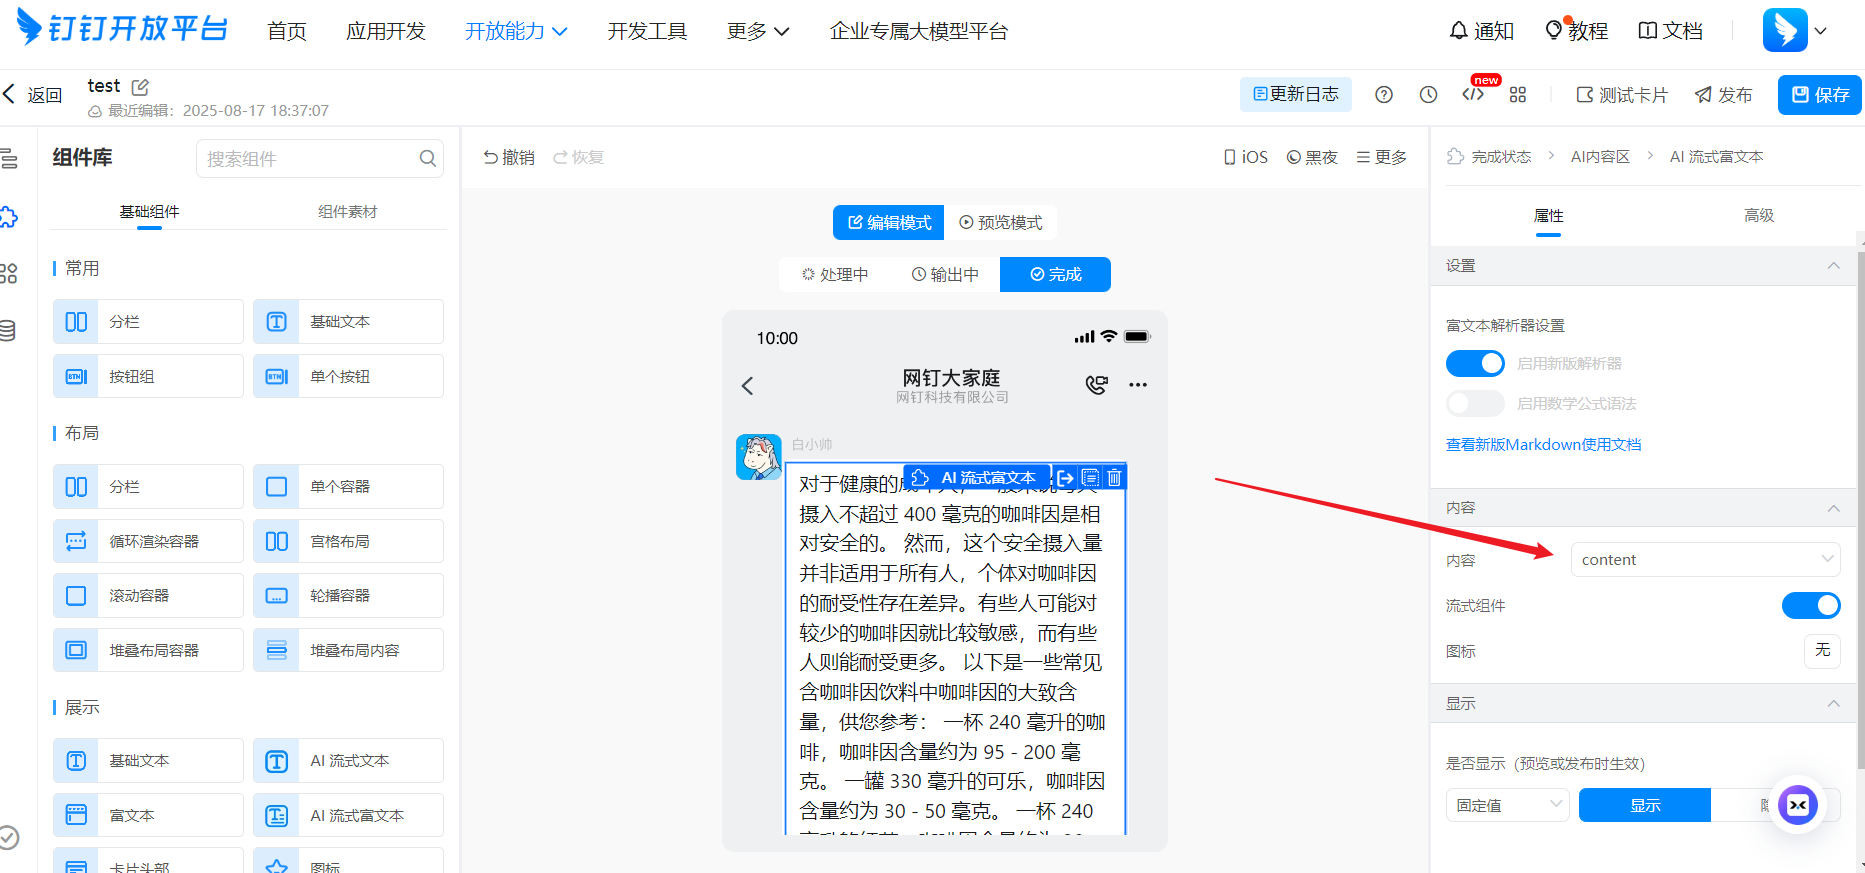
After editing and confirming everything is correct, save it and copy the template ID to fill in the configuration file: 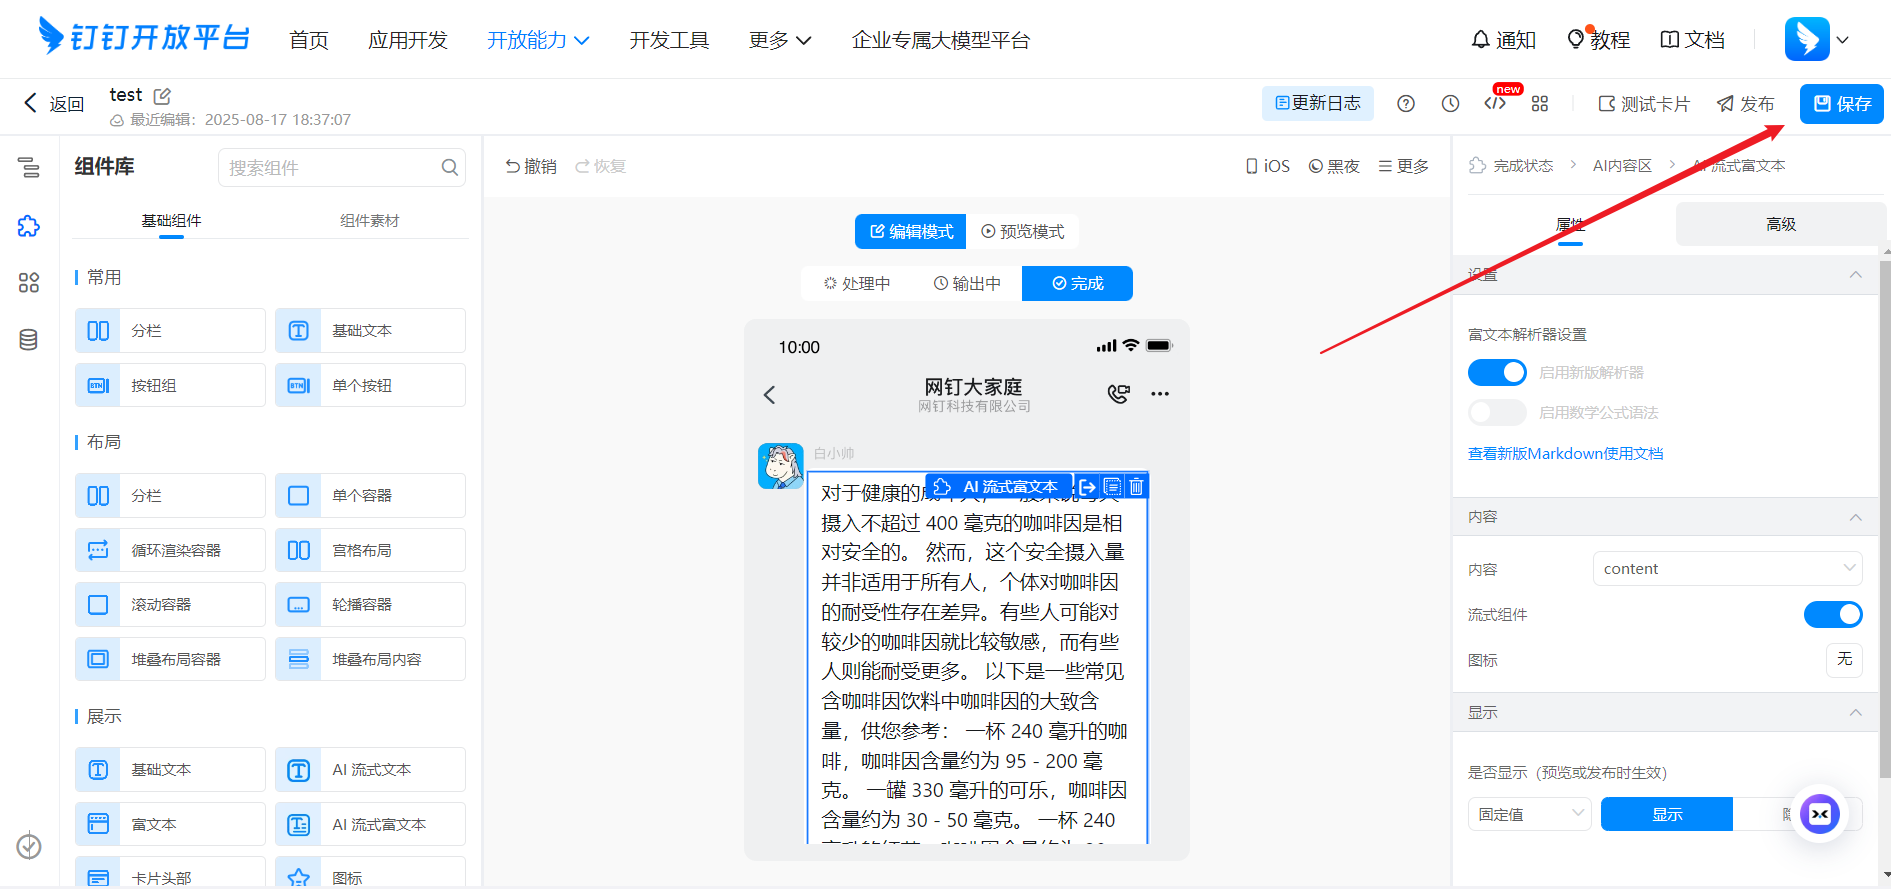
Fill in Configuration Information
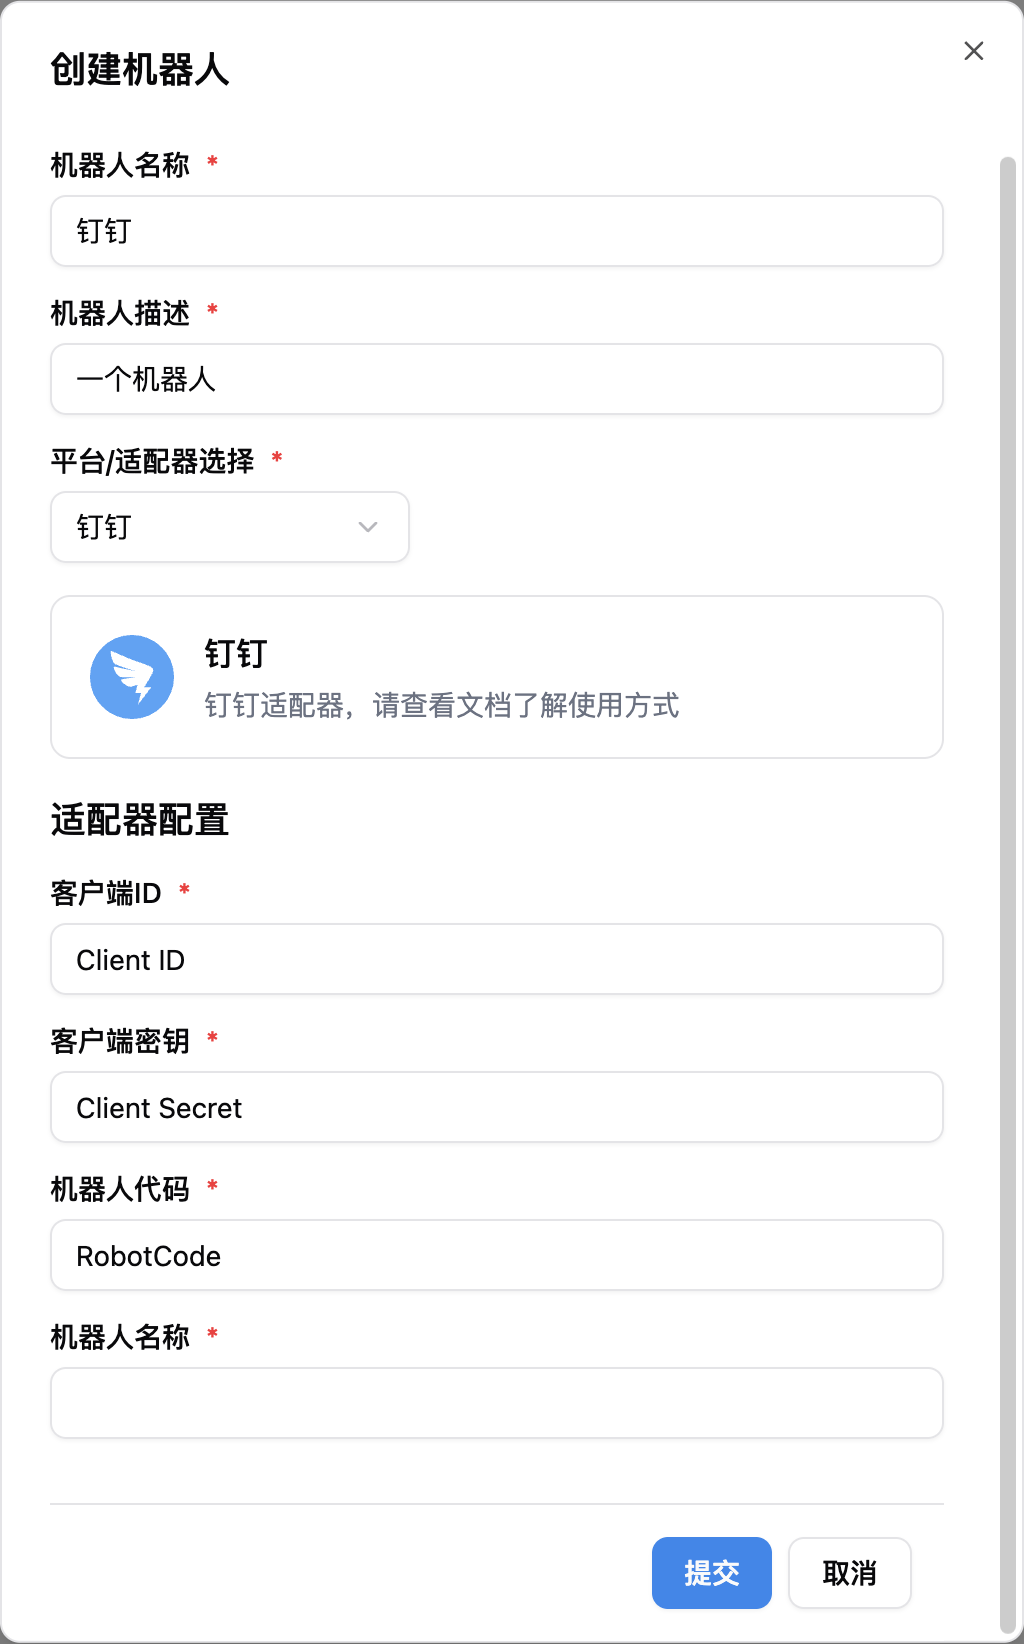
Click Credentials and Basic Information, record Client ID and Client Secret, Click Application Capabilities, Robot, record the RobotCode and Robot Name. markdown_card is whether to enable Markdown form replies. Record the above configuration items and fill them in the LangBot bot configuration form
Click Card Platform, copy the corresponding bound template ID from the template list, and fill it into the card template ID field.
Streaming related: 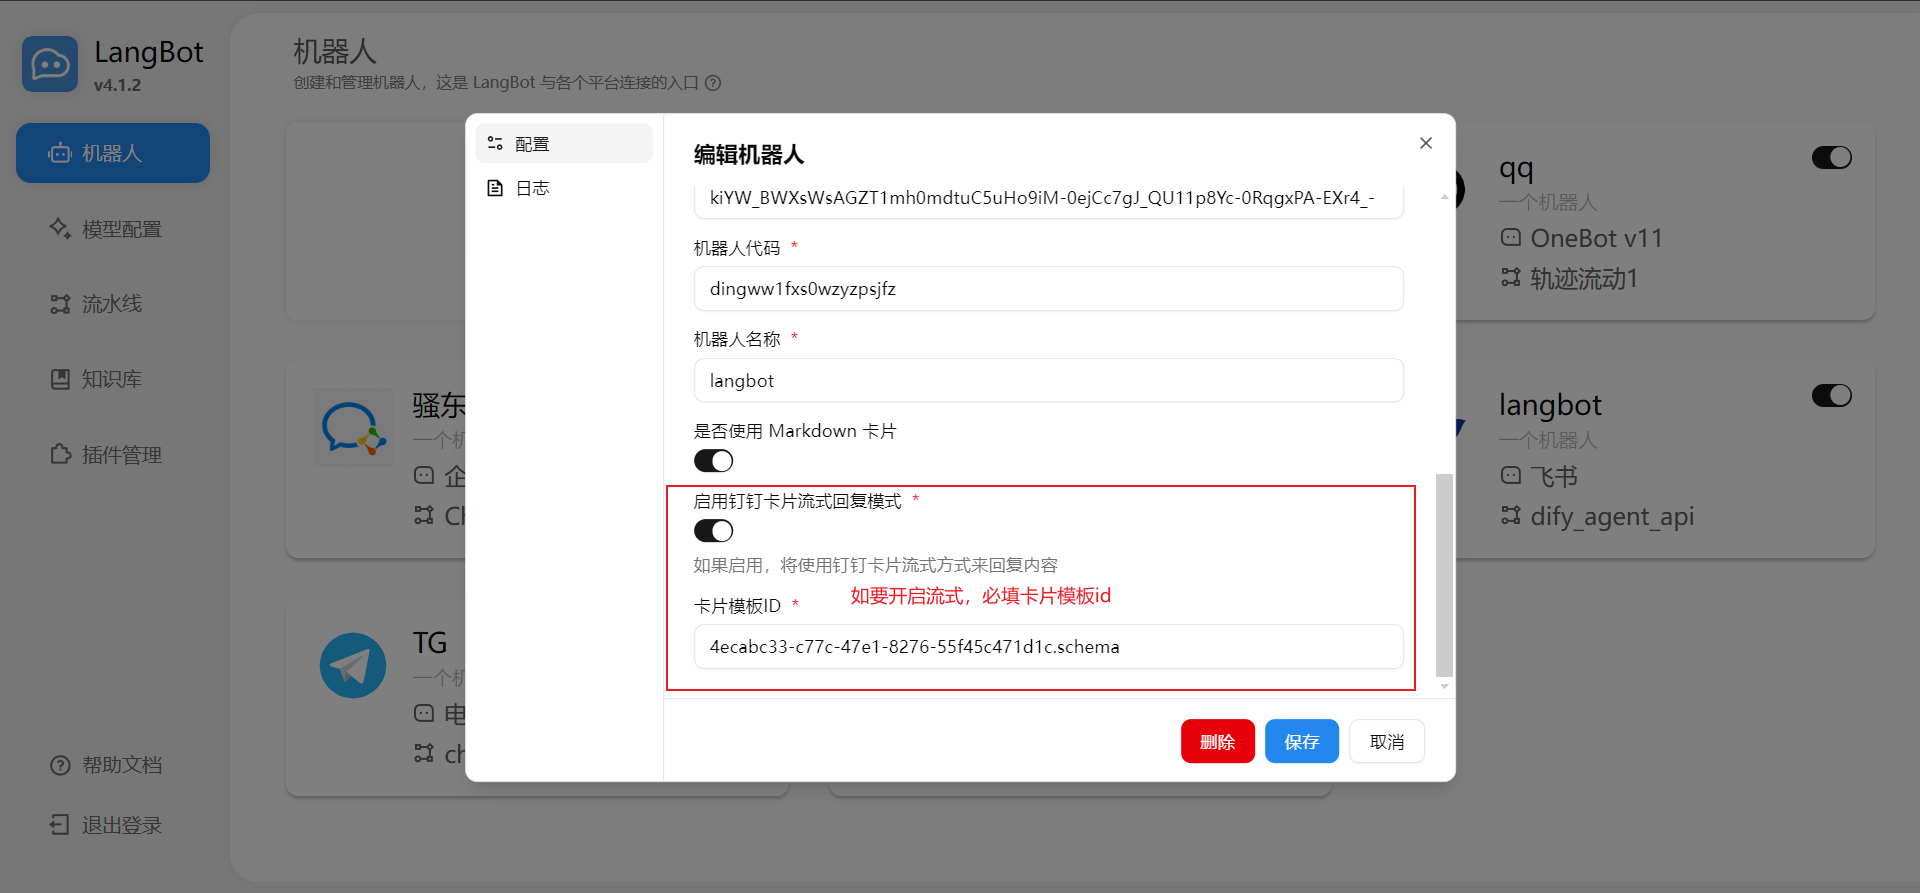
Start LangBot.
Add Bot
This article uses DingTalk Windows desktop version as an example, click Search at the top, Features, then enter the name of the bot you just created, as shown: 
Click on the bot to chat with it.
If you want to add it to a group, click Group Management, Robots, Add Robot in the DingTalk group, then search for the bot name to use it in the group.