
The Problem Everyone Faces
You want an AI assistant in your team’s chat. Maybe for customer support on Telegram. Maybe for a coding helper in Discord. Maybe for a knowledge base bot in your company’s WeChat or Lark group. But then reality hits:- Each platform has its own bot API, webhook format, and auth flow
- You need to handle message queuing, session management, and error recovery
- Switching LLM providers means rewriting your integration layer
- Adding RAG or tool calling is yet another project
What Makes LangBot Different
13+ Messaging Platforms, One Codebase
Deploy a single LangBot instance and connect it to: Global: Discord, Telegram, Slack, LINE, WhatsApp Asia: WeChat (Official Account), WeCom, QQ, Lark, DingTalk, Feishu, KOOK Each platform gets its own adapter — you just fill in your bot token in the WebUI and you’re live.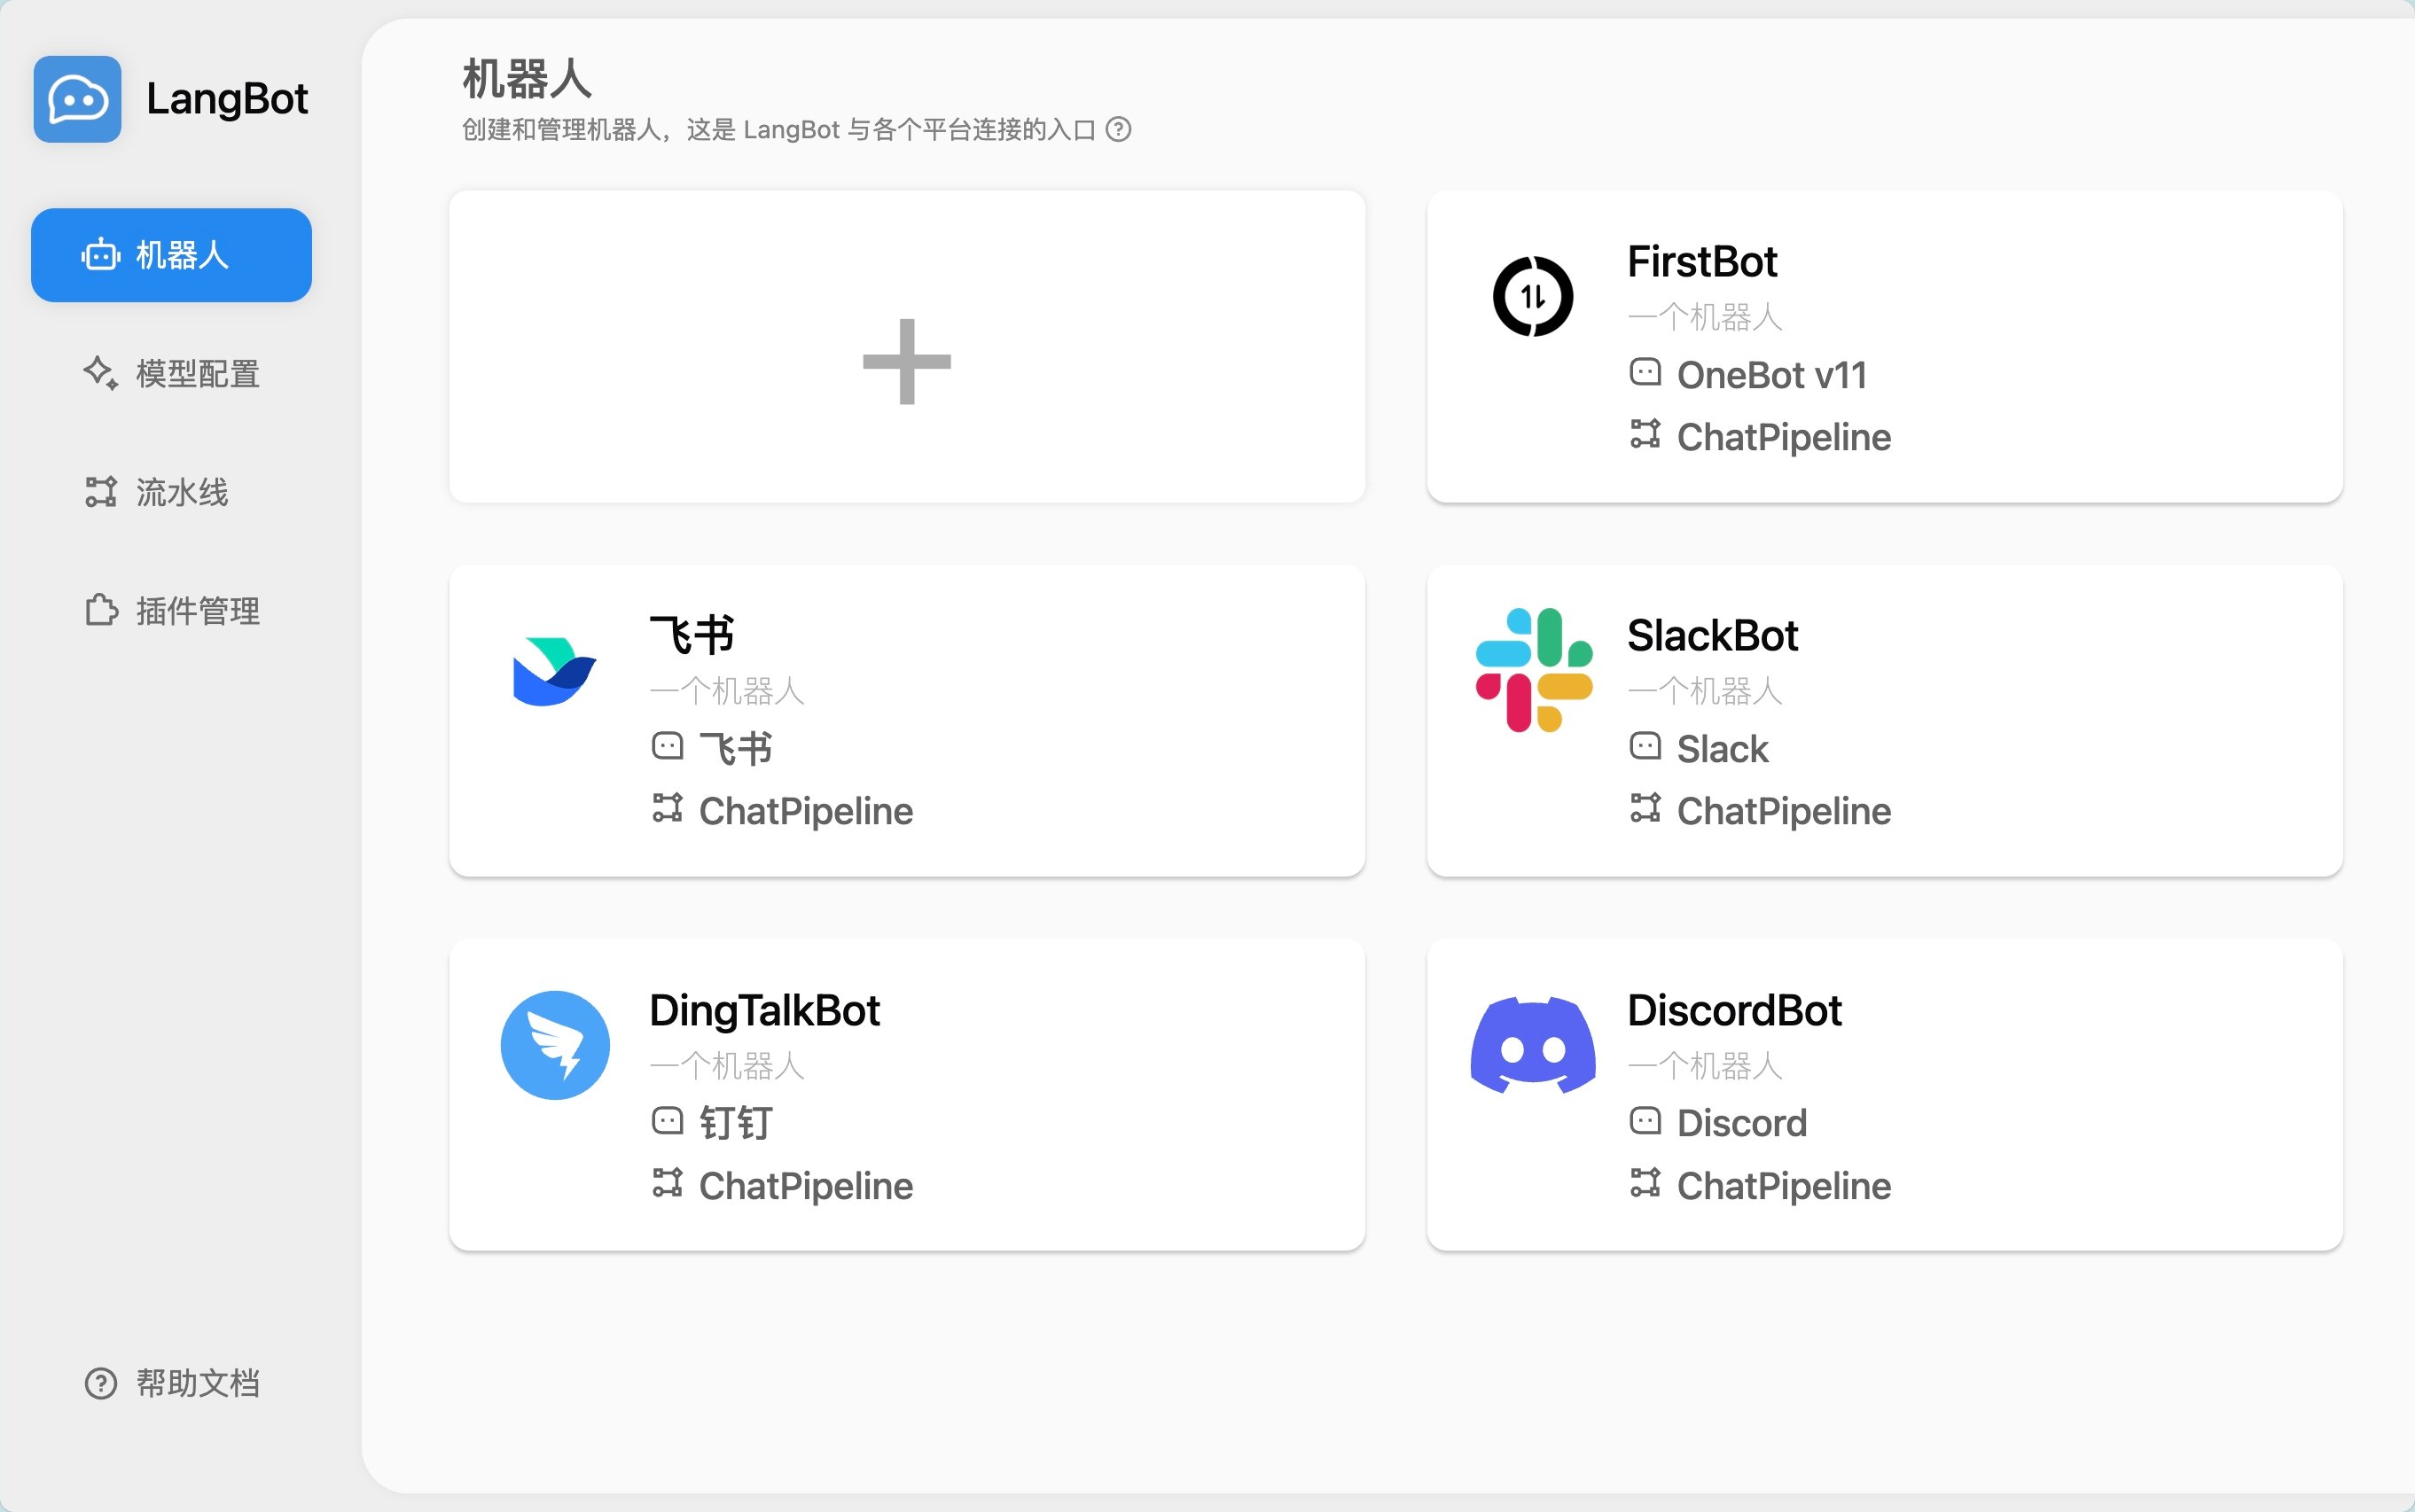
20+ LLM Models, Zero Lock-in
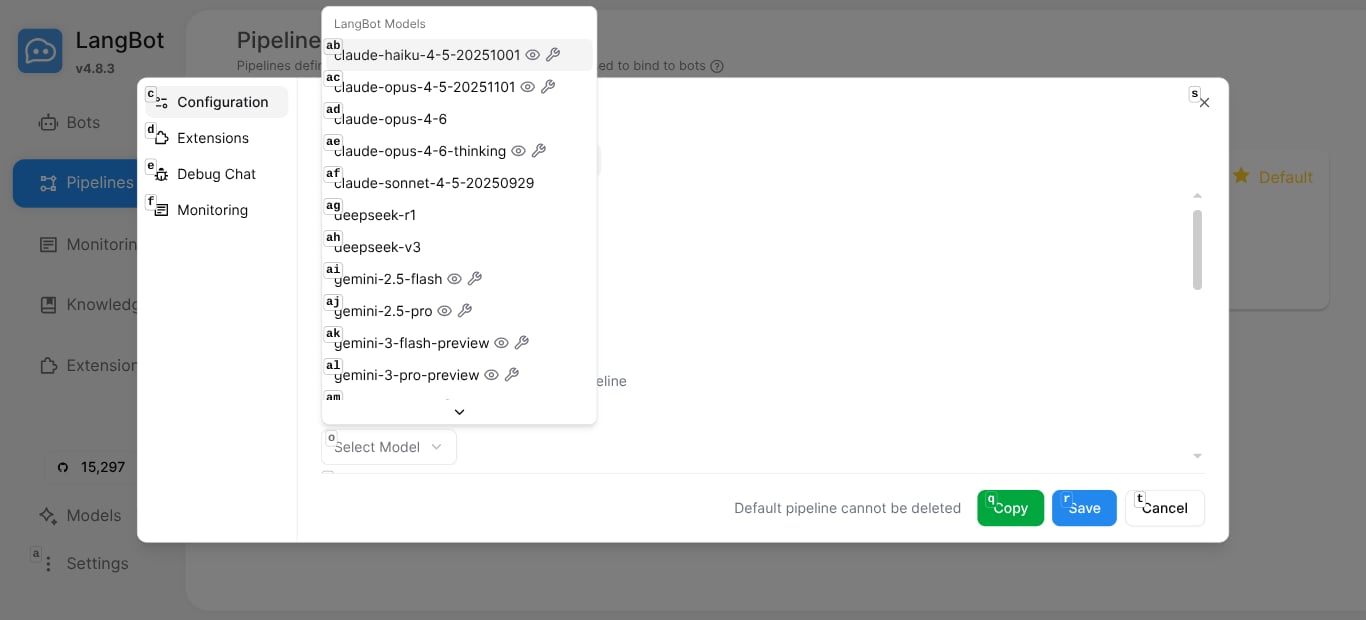
Through LangBot Space, you get instant access to 20 cloud models out of the box — no API keys to manage:- Claude (Opus 4.6, Sonnet 4.5, Haiku 4.5)
- GPT (GPT-5.2, GPT-5-mini, GPT-4.1-mini)
- Gemini (3 Pro, 2.5 Pro, 2.5 Flash)
- DeepSeek (R1, V3)
- Grok (4, 4.1)
- Qwen (3 Max)
Built-in Agent with Tool Calling
LangBot’s Local Agent isn’t just a chat wrapper — it’s a full agent runtime:- Multi-round conversations with configurable memory
- Function calling / tool use for LLM-driven actions
- MCP (Model Context Protocol) support for connecting to 100+ pre-built tools
- Knowledge base (RAG) with built-in vector search
Plugin Marketplace
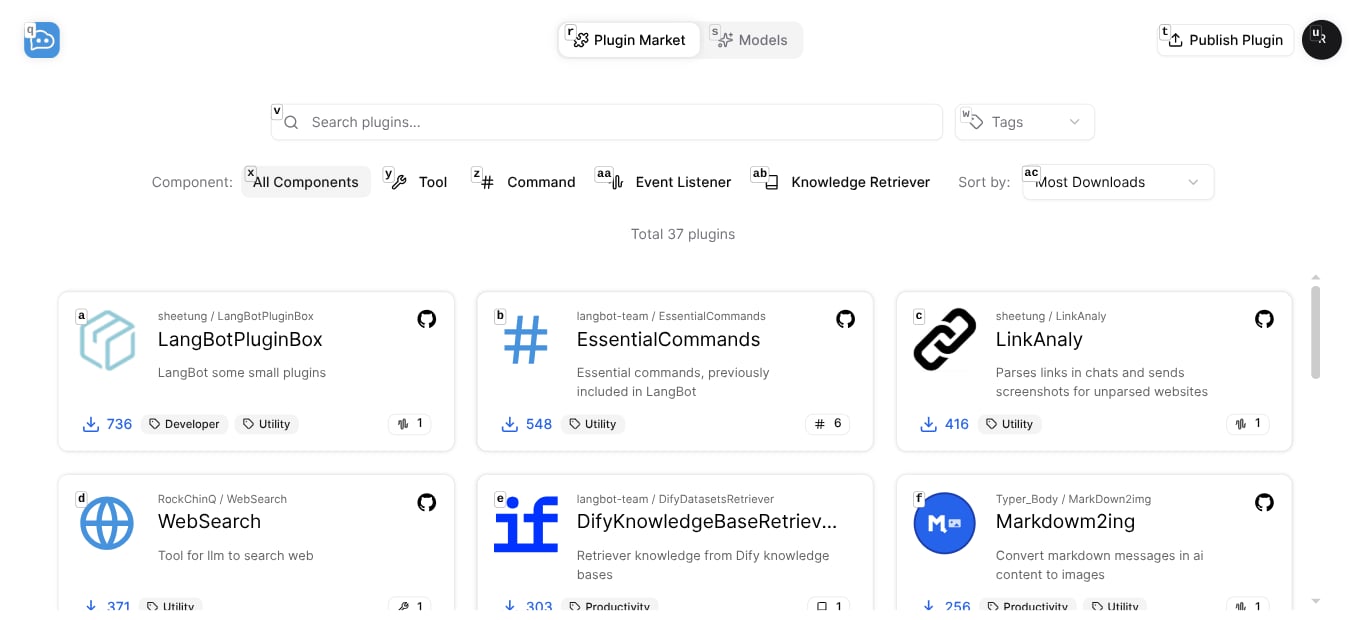
37+ community plugins and growing — install with one click:- WebSearch — Let your bot search the web
- AI Image Generator — Generate images from text
- LinkAnaly — Auto-preview links in chat
- ScheNotify — Schedule reminders with natural language
- Google Search, Tavily Search, RAGFlow Retriever, and more
Deploy in 5 Minutes — For Real
Step 1: Run Docker Compose
http://localhost:5300.
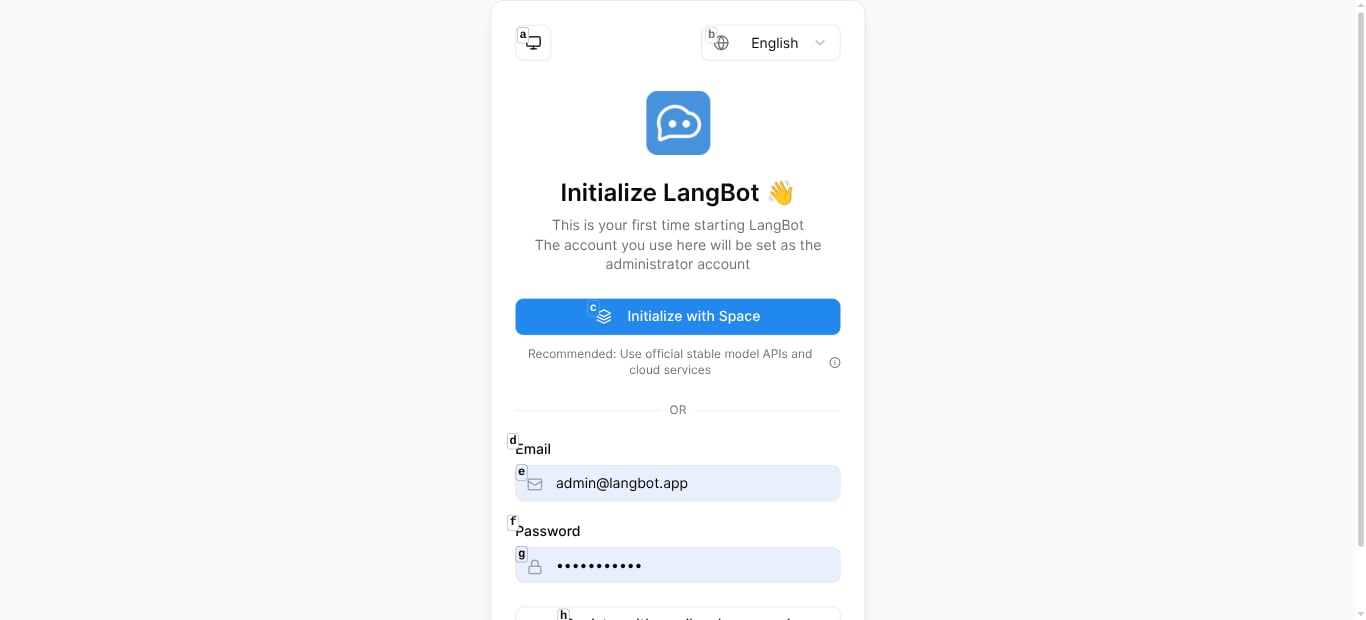
Step 2: Initialize with LangBot Space
Open the WebUI and click “Initialize with Space”. This connects your instance to LangBot Space, giving you:- 20 cloud models ready to use (with free credits)
- One-click plugin installation
- Managed API keys
Step 3: Configure Your Pipeline
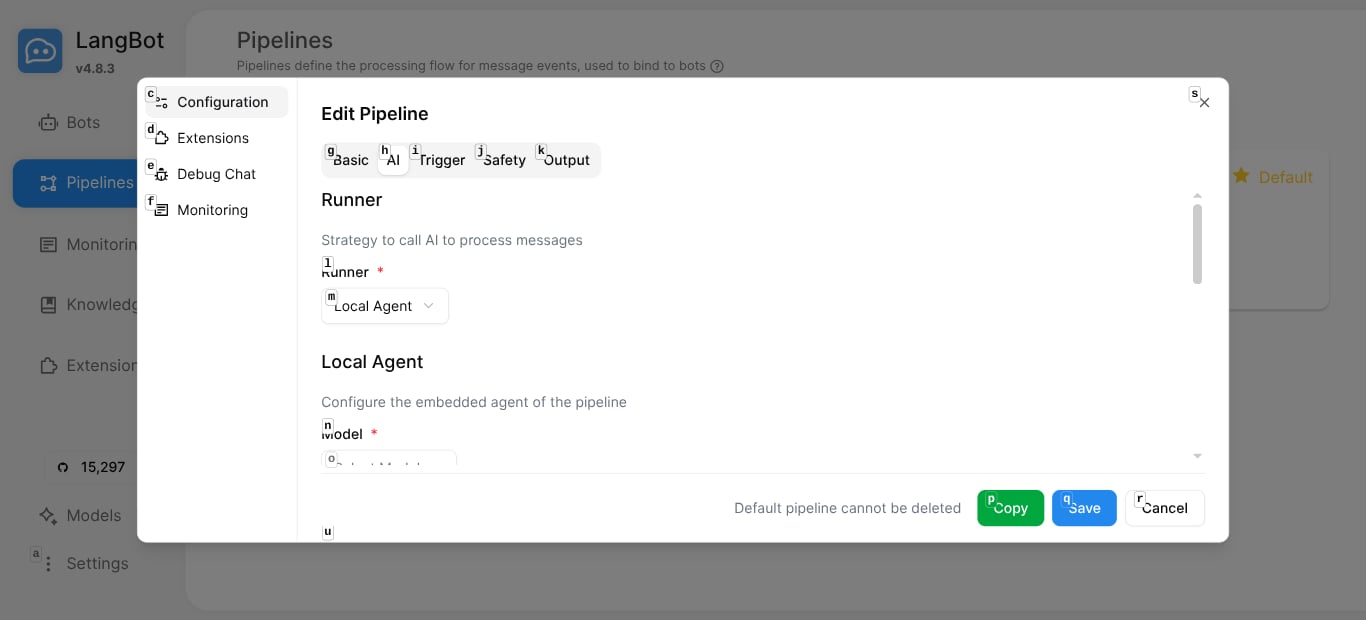
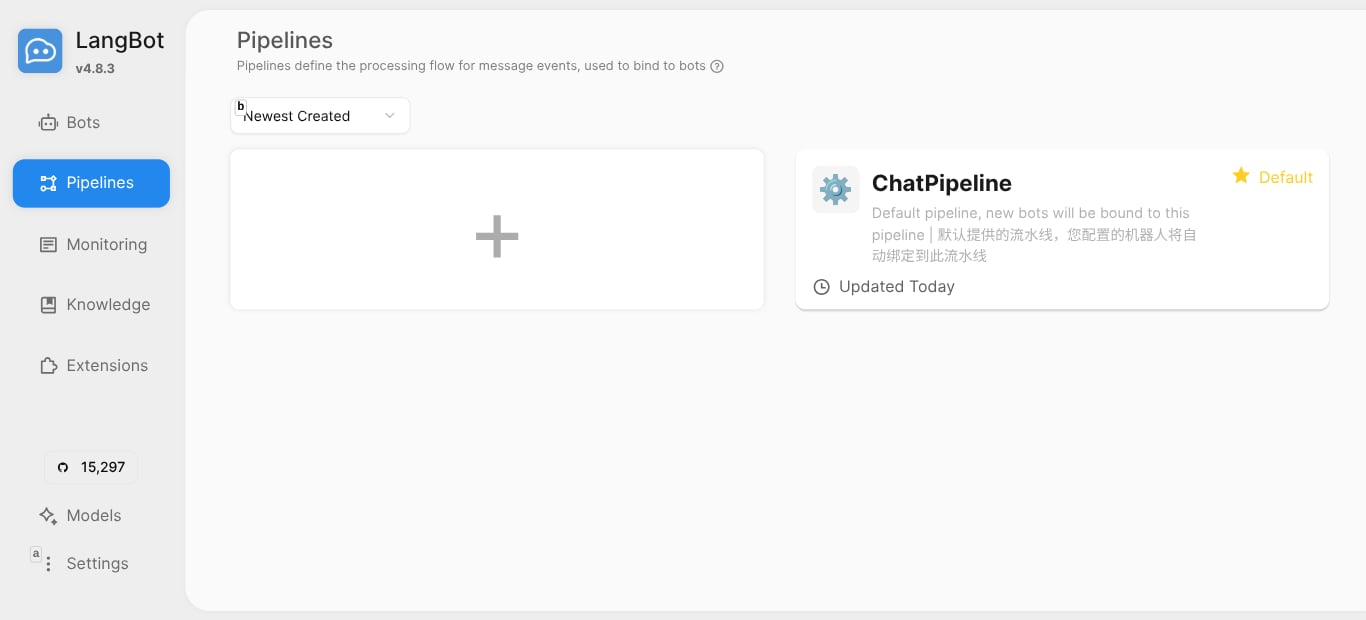
Go to Pipelines and edit the defaultChatPipeline:
- Select your model (e.g.,
deepseek-v3,gpt-5-mini,claude-sonnet-4-5) - Customize the system prompt
- Optionally attach a knowledge base or enable tools
Step 4: Connect a Platform
Go to Bots → click + → choose your platform (Discord, Telegram, etc.) → enter your bot token. Done. Your bot is live.Step 5: Test It
Use the built-in Debug Chat to test your pipeline before going live: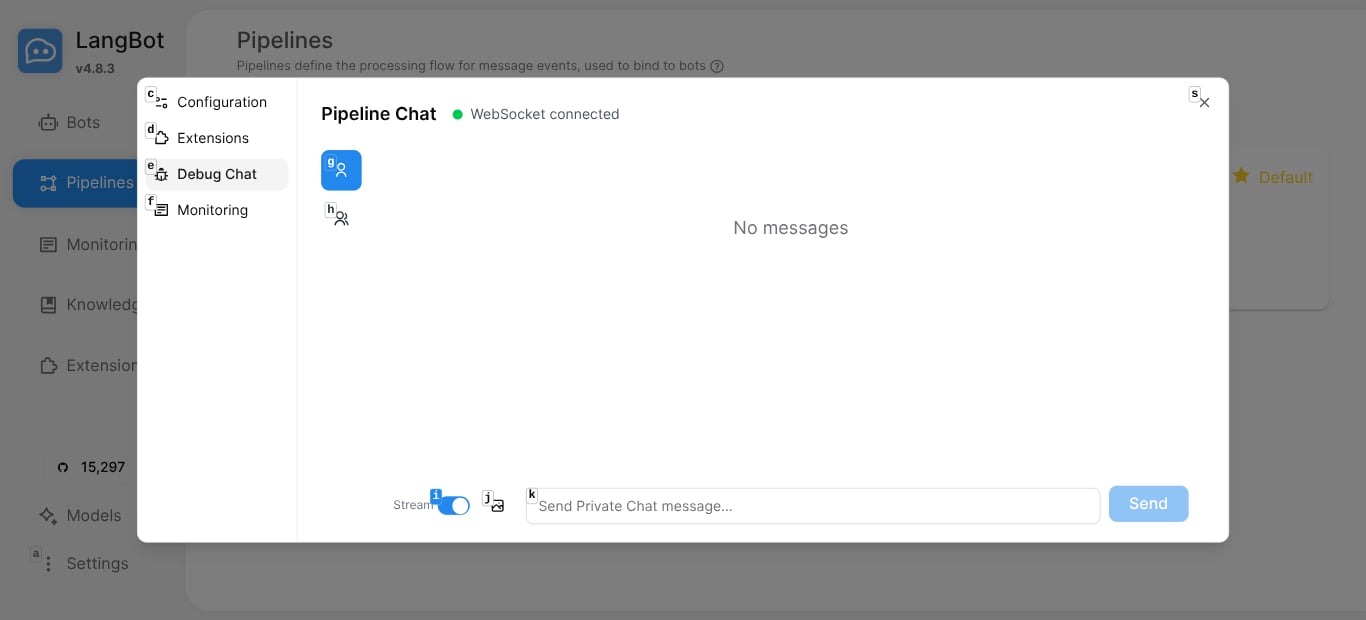
Real Conversations, Real Value
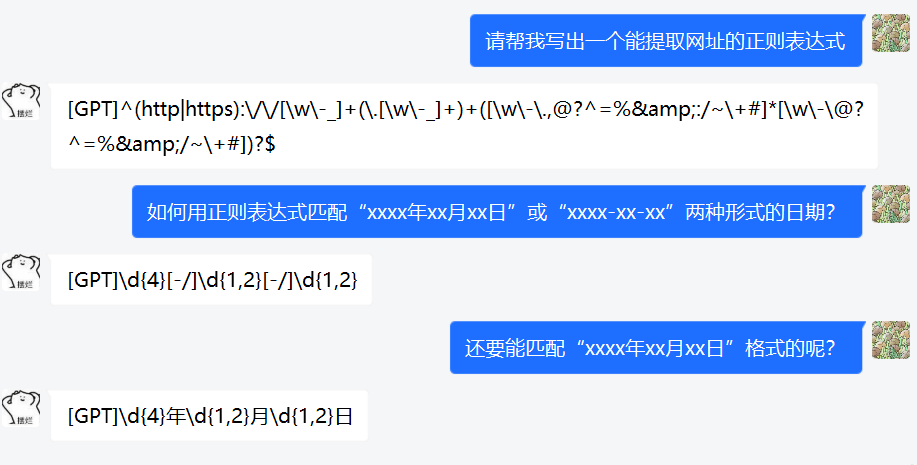
Here’s what it looks like when LangBot is running in a QQ group — users asking technical questions and getting instant, accurate answers: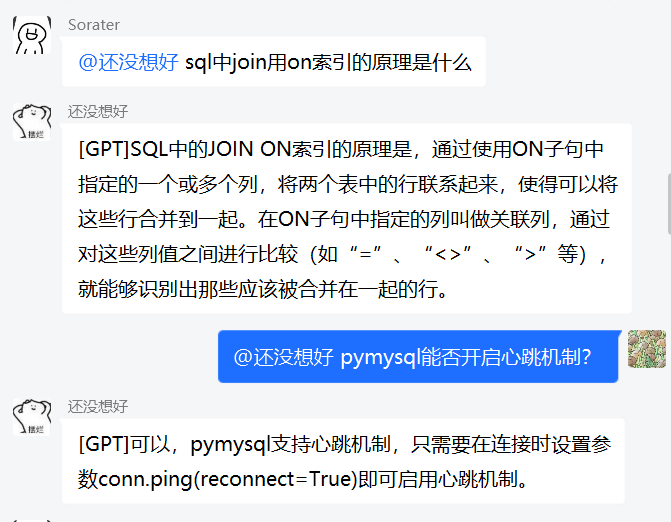
Architecture That Scales
LangBot is built for production:- Pipeline architecture — each bot binds to a pipeline; pipelines handle AI logic, triggers, safety controls, and output formatting
- Cross-process plugin isolation — a bad plugin can’t crash your bot
- Multiple runner backends — use LangBot’s Local Agent, or connect to Dify, n8n, Langflow, Coze for complex workflows
- Database flexibility — SQLite for dev, PostgreSQL for production
- Vector DB options — Chroma, Qdrant, Milvus, pgvector, SeekDB
Why 15,000+ Developers Choose LangBot
Get Started
- GitHub: github.com/langbot-app/LangBot — give us a star!
- Documentation: docs.langbot.app
- Plugin Market: space.langbot.app