> ## Documentation Index
> Fetch the complete documentation index at: https://docs.langbot.app/llms.txt
> Use this file to discover all available pages before exploring further.
# 用 n8n 和 LangBot 构建多平台 AI 聊天机器人
> 用 n8n 和 LangBot 构建多平台 AI 聊天机器人
本文同步自 LangBot Blog。 [阅读 Blog 原文](https://langbot.app/zh/blog/n8n-multi-platform-ai-chatbot).
发布于 2025-12-03 · 作者:LangBot Team
 将 n8n 的可视化工作流自动化与 LangBot 的多平台机器人框架相结合,可以在 QQ、微信、Discord、Telegram、Slack 等平台上以无代码方式部署 AI 聊天机器人。本教程演示如何在几分钟内完成集成。
## 你需要准备
* 已安装 Python 3.8+
* 已安装 Node.js 18+
* 可用的 npm 或 npx
* 15 分钟时间
## 三行命令部署 LangBot
LangBot 是一个生产级的机器人框架,支持连接多种消息平台和 AI 服务,包括 Dify、FastGPT、Coze、OpenAI、Claude 和 Gemini。一键部署:
```bash theme={null}
cd your-workspace
mkdir -p langbot-instance && cd langbot-instance
uvx langbot@latest
```
首次启动时 LangBot 会自动初始化。在浏览器打开 `http://127.0.0.1:5300`。
将 n8n 的可视化工作流自动化与 LangBot 的多平台机器人框架相结合,可以在 QQ、微信、Discord、Telegram、Slack 等平台上以无代码方式部署 AI 聊天机器人。本教程演示如何在几分钟内完成集成。
## 你需要准备
* 已安装 Python 3.8+
* 已安装 Node.js 18+
* 可用的 npm 或 npx
* 15 分钟时间
## 三行命令部署 LangBot
LangBot 是一个生产级的机器人框架,支持连接多种消息平台和 AI 服务,包括 Dify、FastGPT、Coze、OpenAI、Claude 和 Gemini。一键部署:
```bash theme={null}
cd your-workspace
mkdir -p langbot-instance && cd langbot-instance
uvx langbot@latest
```
首次启动时 LangBot 会自动初始化。在浏览器打开 `http://127.0.0.1:5300`。
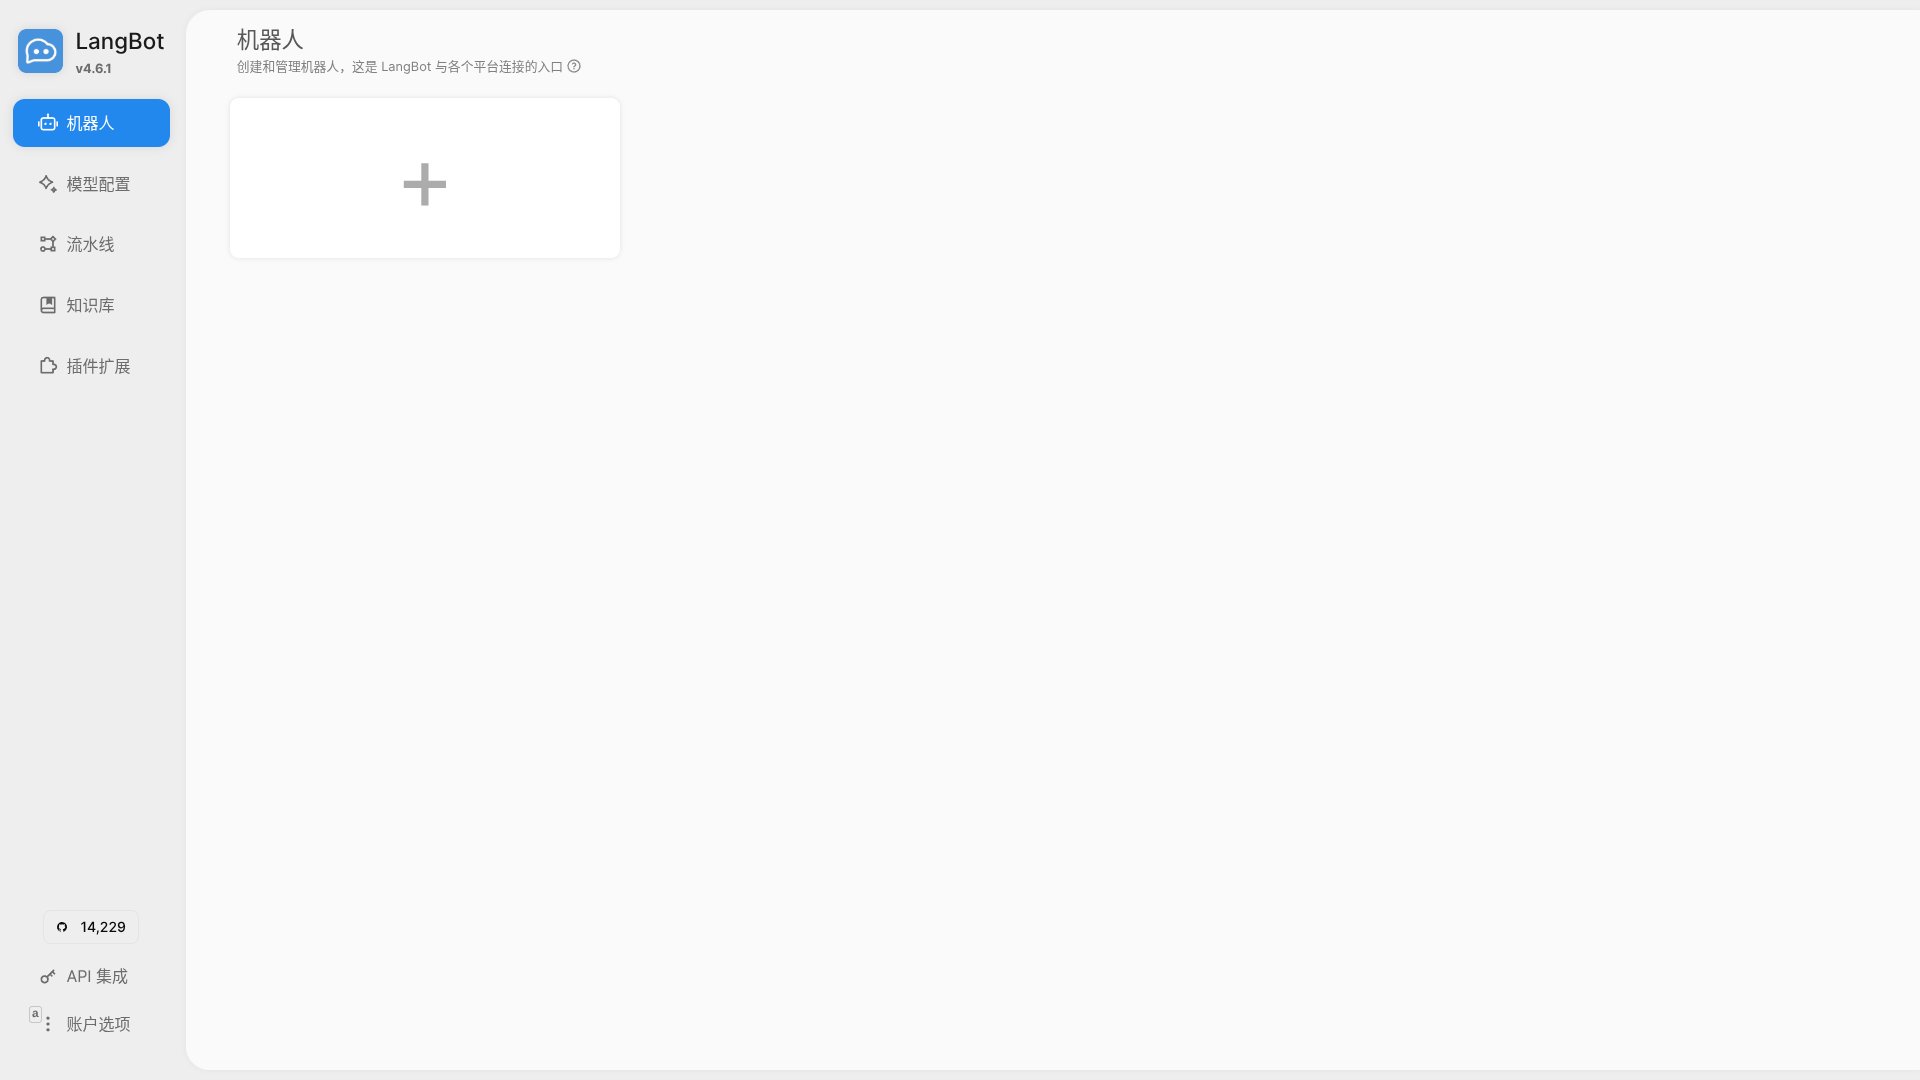
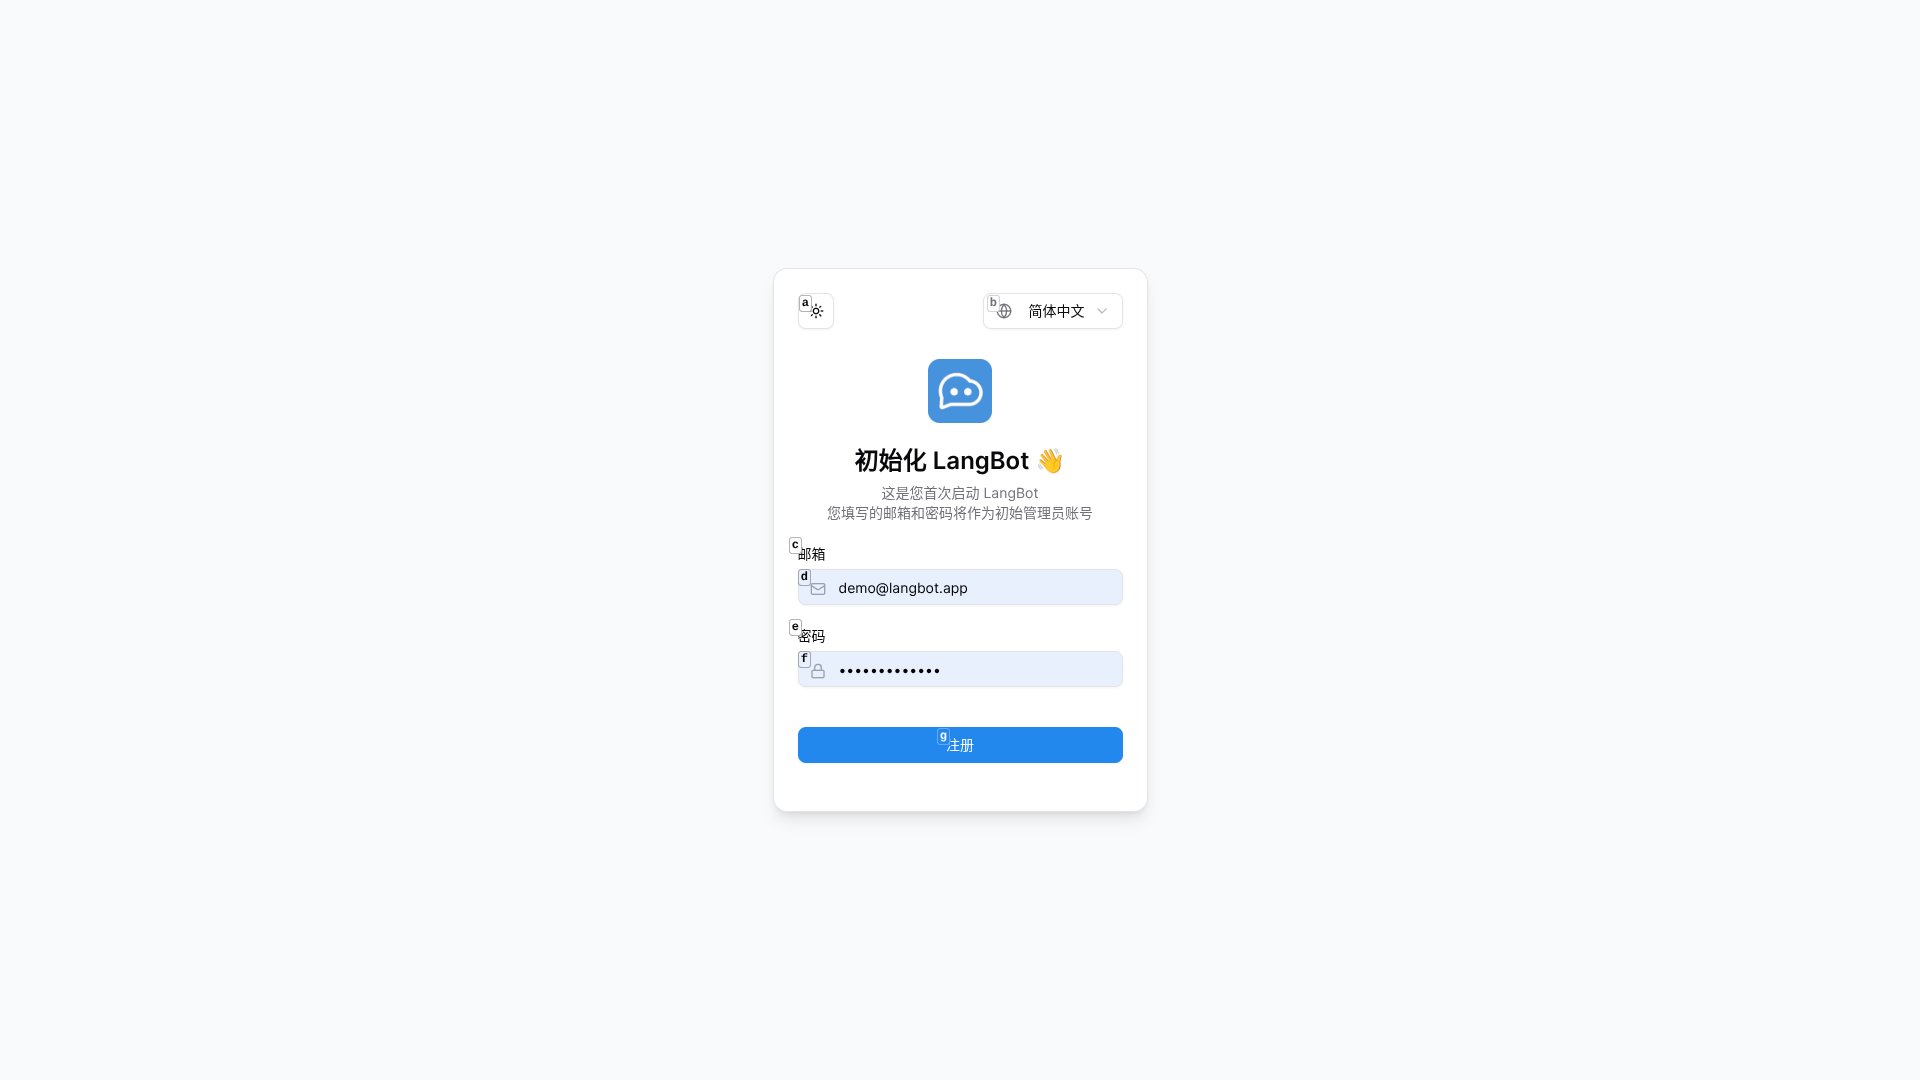 按提示注册管理员账号。注册成功后进入控制台,可以管理机器人、模型、流水线和集成。
 ## 搭建 n8n 工作流自动化
n8n 是一个开源自动化平台,拥有 400+ 集成和强大的 AI 能力。本地启动:
```bash theme={null}
cd your-workspace
mkdir -p n8n-data
export N8N_USER_FOLDER=$(pwd)/n8n-data
npx n8n
```
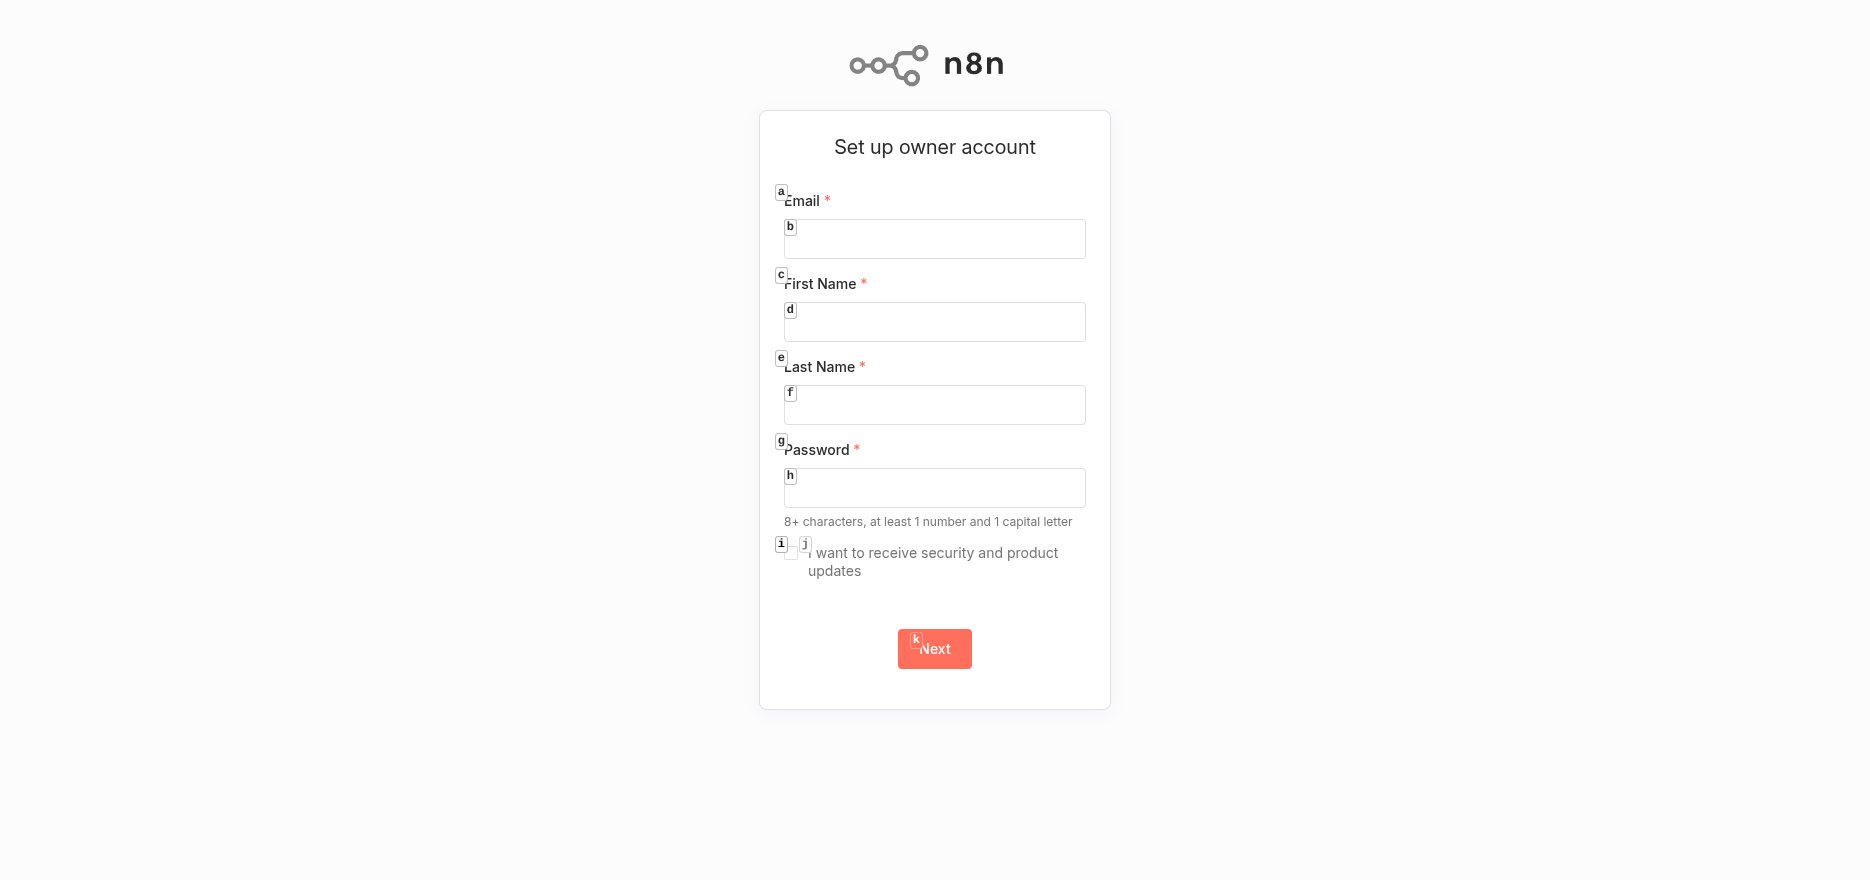
访问 `http://127.0.0.1:5678` 创建你的主账号。
## 搭建 n8n 工作流自动化
n8n 是一个开源自动化平台,拥有 400+ 集成和强大的 AI 能力。本地启动:
```bash theme={null}
cd your-workspace
mkdir -p n8n-data
export N8N_USER_FOLDER=$(pwd)/n8n-data
npx n8n
```
访问 `http://127.0.0.1:5678` 创建你的主账号。
 ## 构建 AI 工作流
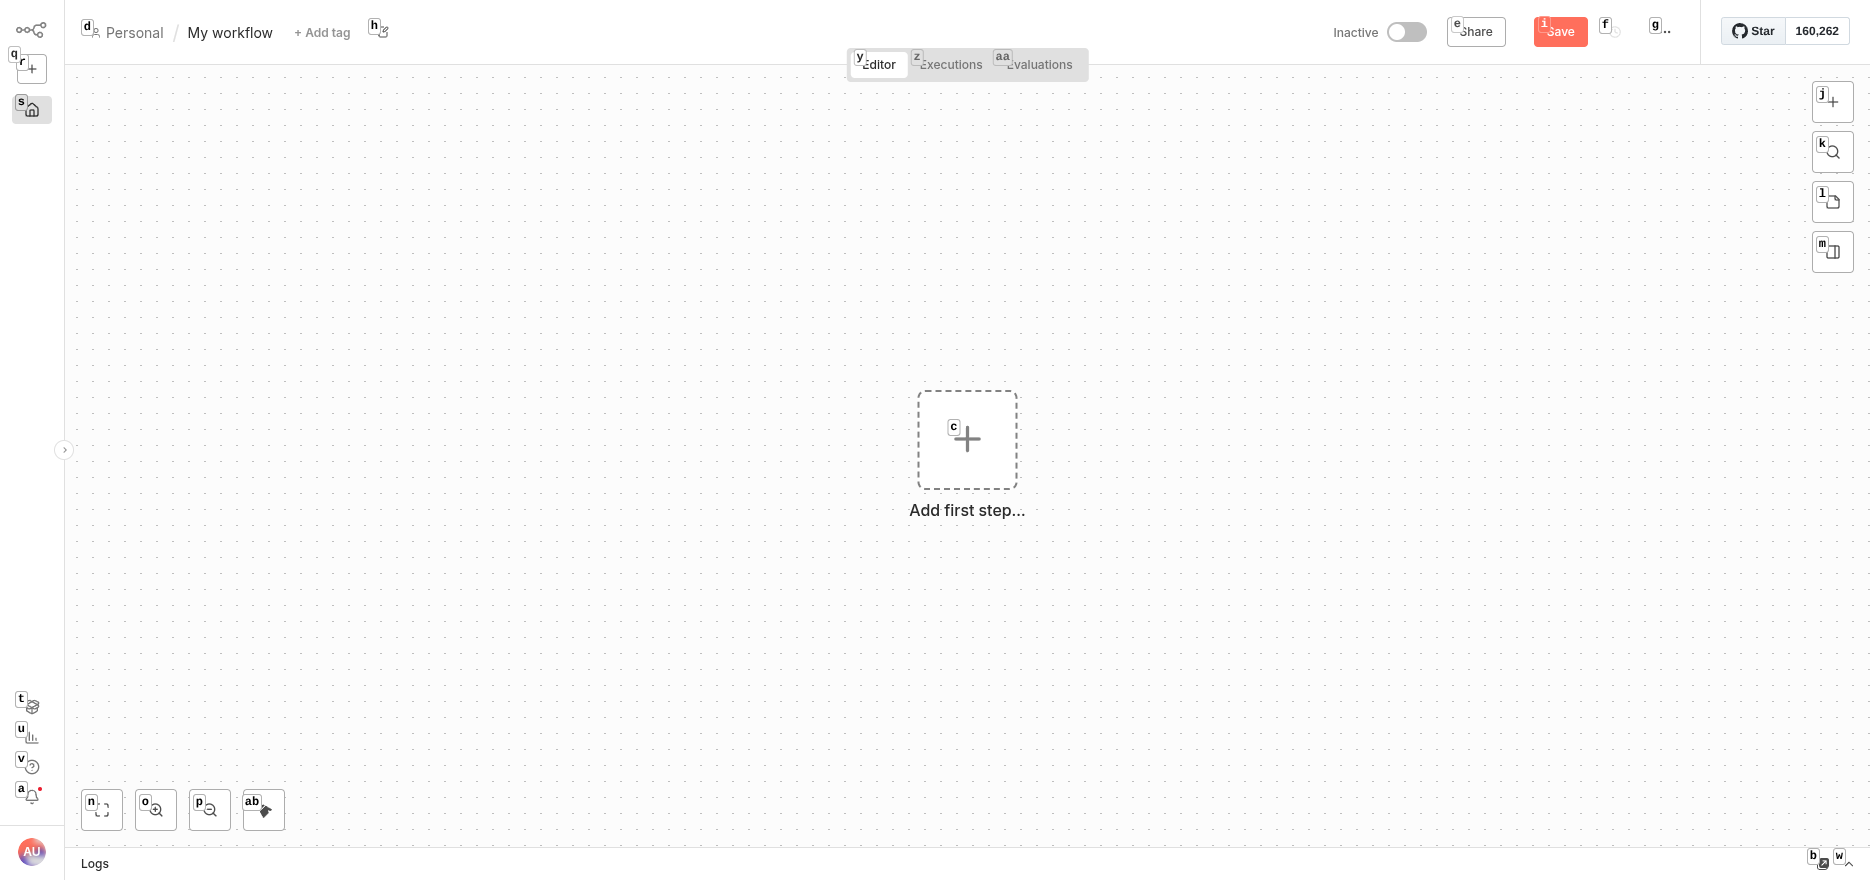
在 n8n 中创建新工作流。你需要两个核心节点:
## 构建 AI 工作流
在 n8n 中创建新工作流。你需要两个核心节点:
 ### 添加 Webhook 触发器
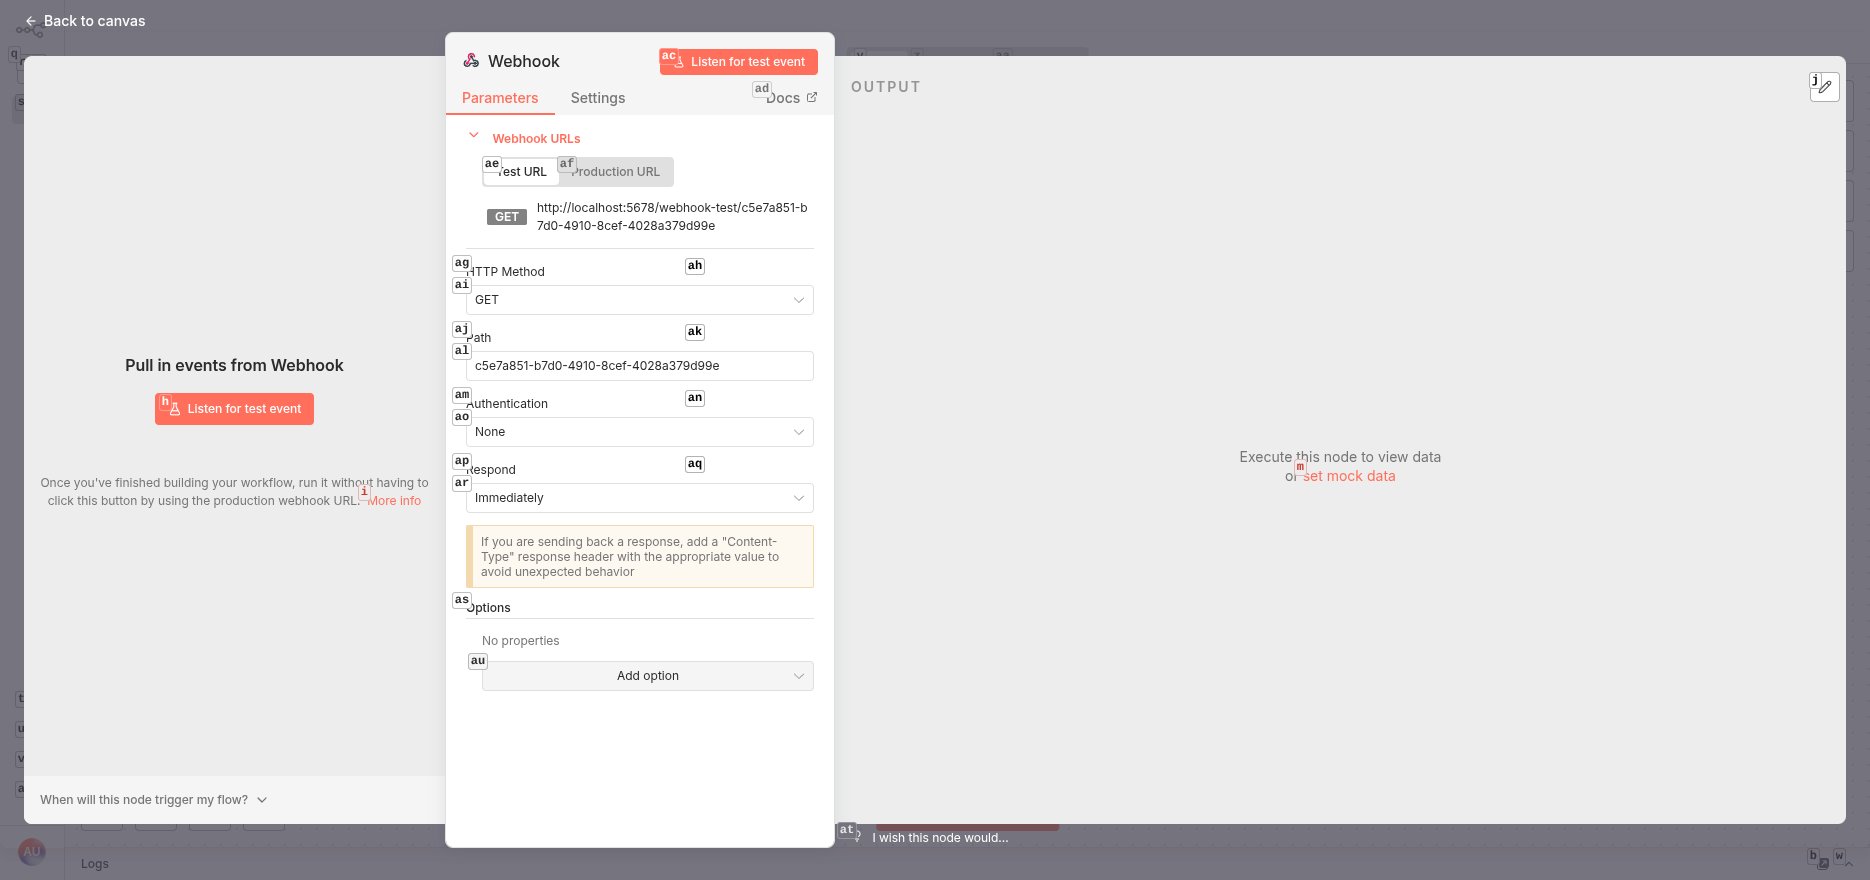
点击画布上的 "+" 添加 **Webhook** 节点。配置如下:
* **HTTP Method**:POST
* **Response Mode**:Streaming(启用实时聊天响应)
* **Authentication**:None(生产环境请调整)
### 添加 Webhook 触发器
点击画布上的 "+" 添加 **Webhook** 节点。配置如下:
* **HTTP Method**:POST
* **Response Mode**:Streaming(启用实时聊天响应)
* **Authentication**:None(生产环境请调整)
 ### 添加 AI Agent
按 Tab 键,导航到 "AI" 分类,选择 **AI Agent**。
**配置对话模型**:点击 "Chat Model" 选择 "OpenAI Chat Model"。添加凭据:
* **API Key**:你的 OpenAI API key(或兼容服务的 key)
* **Base URL**:如果使用 Claude、Gemini 或本地模型等其他提供商,更新为对应的 endpoint
**关键步骤 - 修复 Prompt 来源**:默认情况下 AI Agent 期望 Chat Trigger 节点,这与 webhook 不兼容。修复方法:
1. 在 AI Agent 设置中找到 "Source for Prompt (User Message)"
2. 从 "Connected Chat Trigger Node" 改为 "Define below"
3. 切换到 "Expression" 模式
4. 输入:`{{ $json.body }}`
这个表达式从 webhook 请求体中提取用户消息。
### 添加 AI Agent
按 Tab 键,导航到 "AI" 分类,选择 **AI Agent**。
**配置对话模型**:点击 "Chat Model" 选择 "OpenAI Chat Model"。添加凭据:
* **API Key**:你的 OpenAI API key(或兼容服务的 key)
* **Base URL**:如果使用 Claude、Gemini 或本地模型等其他提供商,更新为对应的 endpoint
**关键步骤 - 修复 Prompt 来源**:默认情况下 AI Agent 期望 Chat Trigger 节点,这与 webhook 不兼容。修复方法:
1. 在 AI Agent 设置中找到 "Source for Prompt (User Message)"
2. 从 "Connected Chat Trigger Node" 改为 "Define below"
3. 切换到 "Expression" 模式
4. 输入:`{{ $json.body }}`
这个表达式从 webhook 请求体中提取用户消息。
 ### 激活并获取 Webhook URL
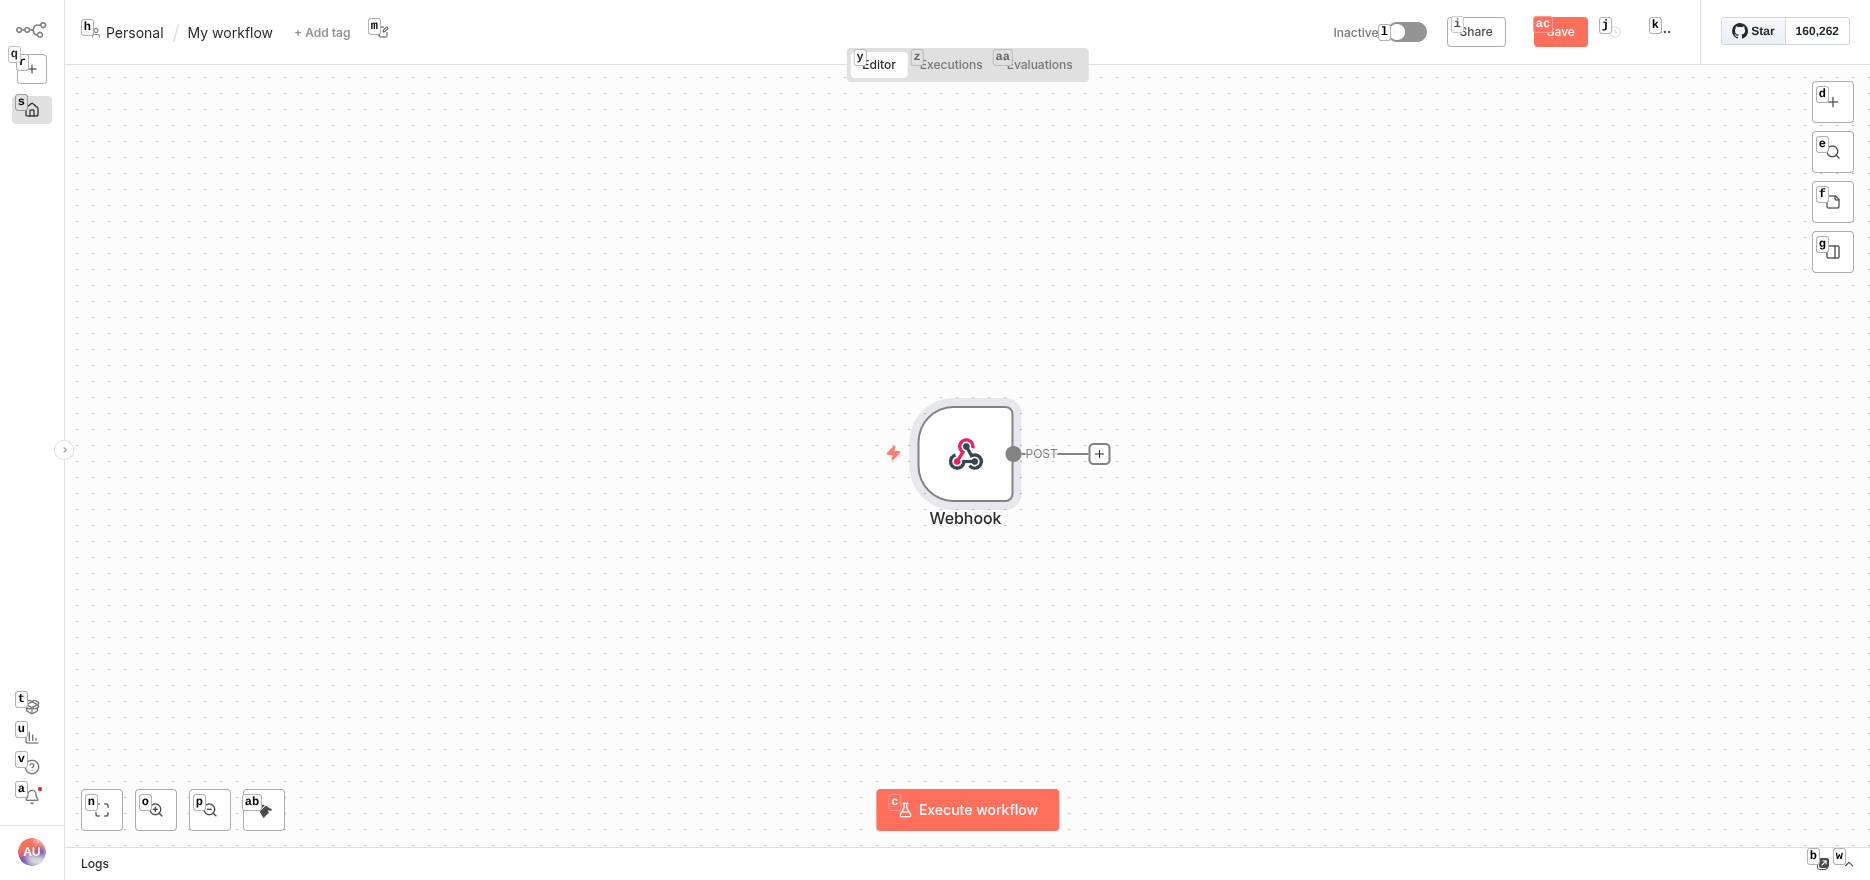
保存工作流并切换右上角的激活开关。切换到 "Production URL" 标签页,复制 webhook URL:
```
http://localhost:5678/webhook/{your-webhook-id}
```
## 连接 LangBot 到 n8n
回到 LangBot 控制台,进入 **Pipelines** 页面,点击默认的 "ChatPipeline"。
### 激活并获取 Webhook URL
保存工作流并切换右上角的激活开关。切换到 "Production URL" 标签页,复制 webhook URL:
```
http://localhost:5678/webhook/{your-webhook-id}
```
## 连接 LangBot 到 n8n
回到 LangBot 控制台,进入 **Pipelines** 页面,点击默认的 "ChatPipeline"。
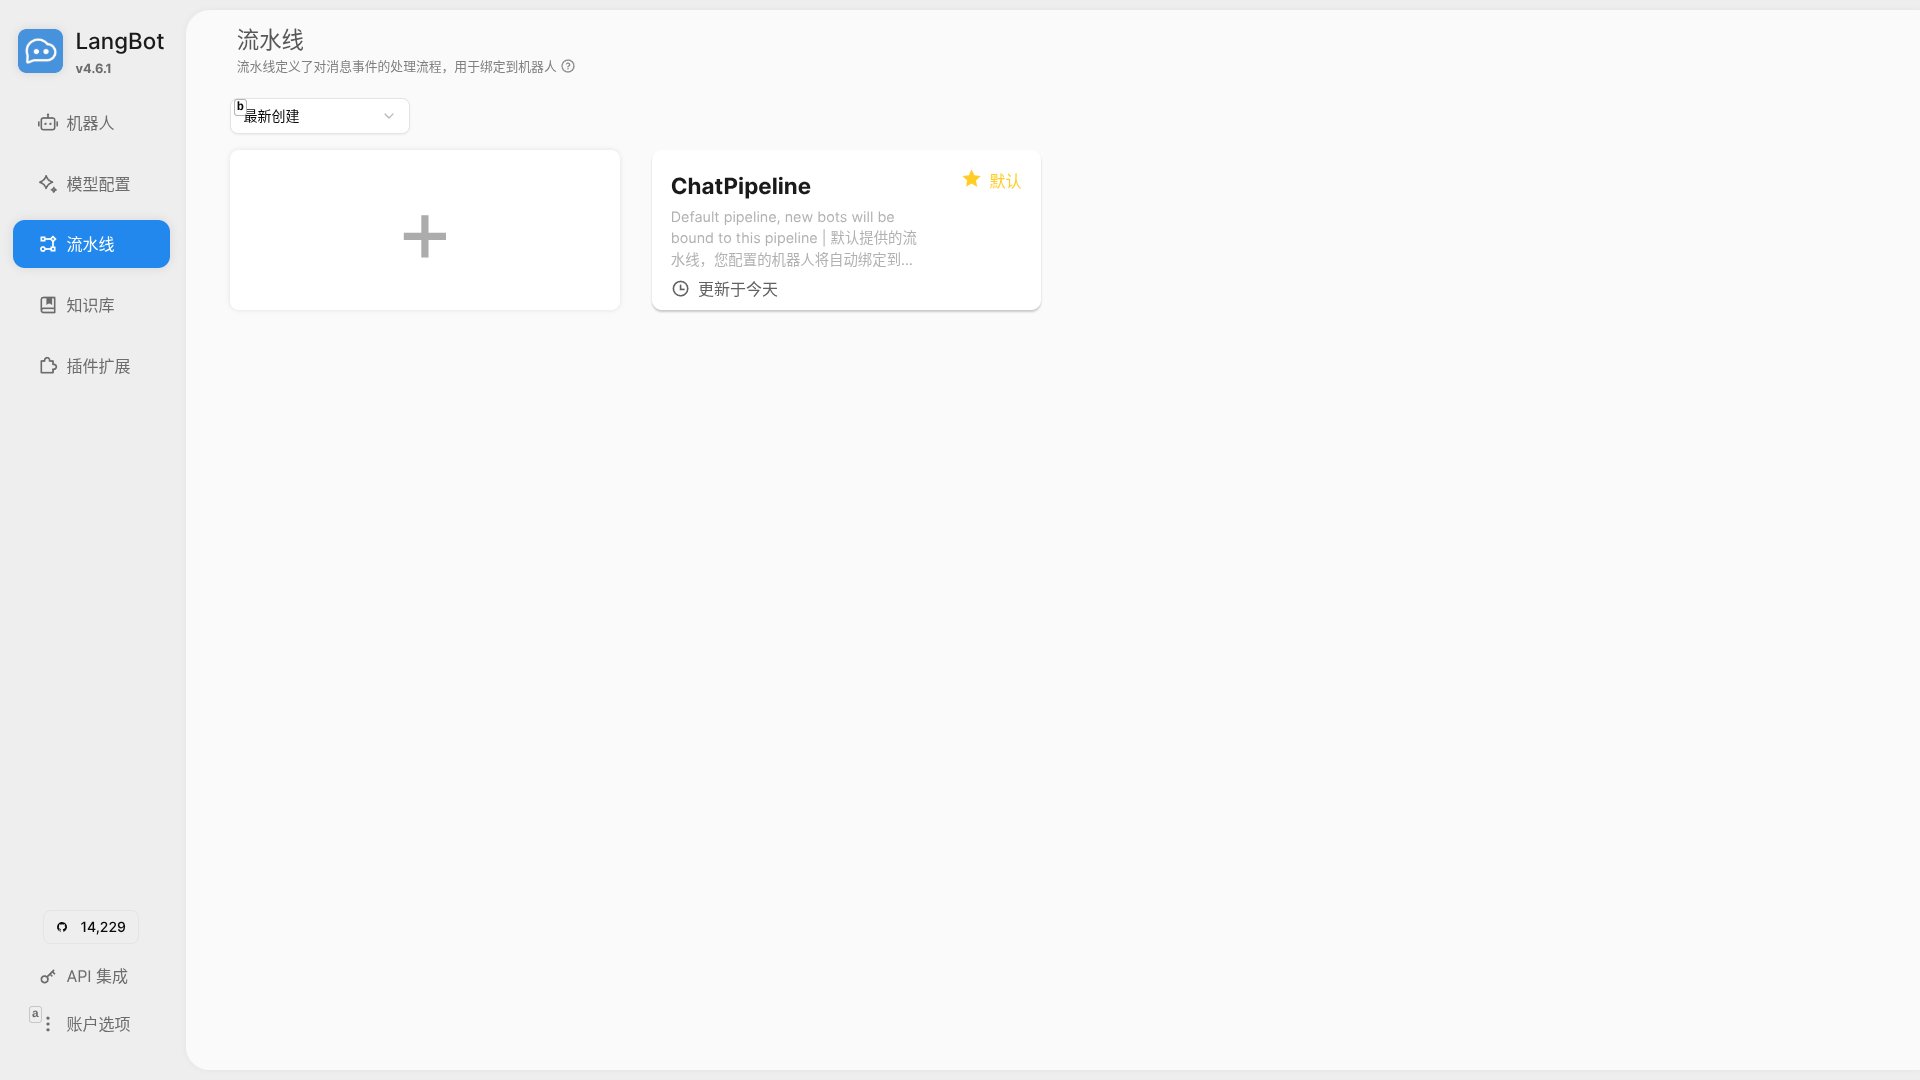 切换到 **AI** 标签页,在 Runner 下拉菜单中选择 "n8n Workflow API"。配置:
* **Webhook URL**:粘贴你的 n8n 生产环境 webhook URL
* **Authentication Type**:None(与 n8n webhook 设置保持一致)
* **Timeout**:120 秒
* **Output Key**:response
点击 **Save** 保存。
## 测试一下
在 Pipeline 编辑器中点击左侧边栏的 "Debug Chat"。发送测试消息如 "What is LangBot?"
如果一切正常,你会看到 LangBot 将消息发送到 n8n,AI Agent 处理后将响应流式返回。
## 故障排查
**错误:"Expected to find the prompt in an input field called 'chatInput'"**
这意味着 AI Agent 仍配置为 Chat Trigger 节点。修复:
1. 打开 AI Agent 配置
2. 将 "Source for Prompt (User Message)" 设为 "Define below"
3. 切换到 Expression 模式
4. 输入:`{{ $json.body }}`
**直接测试 Webhook**
用 curl 验证 webhook 是否工作:
```bash theme={null}
curl -X POST http://localhost:5678/webhook/your-webhook-id \
-H "Content-Type: application/json" \
-d '{"body": "Hello, can you introduce yourself?"}'
```
你应该收到包含 AI 响应的流式 JSON。
## 集成工作原理
完整流程如下:
1. 用户通过 QQ、微信、Discord、Telegram、Slack、LINE 或任何 LangBot 支持的平台发送消息
2. LangBot 的 Pipeline 接收消息并调用 n8n Workflow API
3. n8n 的 Webhook 节点捕获请求并传递给 AI Agent
4. AI Agent 使用 OpenAI、Claude、Gemini 或你配置的 LLM 生成回复
5. n8n 将响应流式返回给 LangBot
6. LangBot 将回复送达用户原来的平台
## 为什么这套组合很强大
**LangBot + n8n** 解锁了强大的能力:
1. **无代码 AI 逻辑**:在 n8n 中以可视化方式设计对话流程,无需触碰代码
2. **多平台覆盖**:同时在 QQ、微信、Discord、Telegram、Slack、LINE、钉钉、飞书部署相同的 AI
3. **灵活的 AI 模型**:在 OpenAI GPT、Anthropic Claude、Google Gemini、Coze、Dify、本地模型等之间自由切换
4. **丰富的集成**:连接 n8n 的 400+ 集成——数据库、API、Notion、Airtable、Google Sheets、Slack 等
5. **工具调用 Agent**:AI Agent 可以触发 n8n 工具,如数据库查询、API 调用或自定义函数
6. **工作流扩展**:添加预处理、内容审核、日志记录或自定义业务逻辑
**适合场景**:
* 企业客服机器人
* 知识库问答系统
* 多平台社群管理
* 任务自动化助手
* 团队统一聊天界面
## 下一步
进一步扩展你的机器人:
* 集成 Dify 或 FastGPT 实现高级 RAG(检索增强生成)
* 添加向量数据库节点(Pinecone、Qdrant、Weaviate)实现知识检索
* 连接业务 API 获取实时数据
* 实现对话记忆和上下文追踪
* 添加内容过滤和审核工作流
* 使用 Langflow 或 Coze 进行额外的 AI 编排
这套集成为你提供了基于代码的 AI 框架(如 LangChain)的灵活性,以及可视化工作流构建器的简洁性——同时覆盖所有主流消息平台。
准备好部署你的多平台 AI 助手了吗?立即开始使用 LangBot 和 n8n。
切换到 **AI** 标签页,在 Runner 下拉菜单中选择 "n8n Workflow API"。配置:
* **Webhook URL**:粘贴你的 n8n 生产环境 webhook URL
* **Authentication Type**:None(与 n8n webhook 设置保持一致)
* **Timeout**:120 秒
* **Output Key**:response
点击 **Save** 保存。
## 测试一下
在 Pipeline 编辑器中点击左侧边栏的 "Debug Chat"。发送测试消息如 "What is LangBot?"
如果一切正常,你会看到 LangBot 将消息发送到 n8n,AI Agent 处理后将响应流式返回。
## 故障排查
**错误:"Expected to find the prompt in an input field called 'chatInput'"**
这意味着 AI Agent 仍配置为 Chat Trigger 节点。修复:
1. 打开 AI Agent 配置
2. 将 "Source for Prompt (User Message)" 设为 "Define below"
3. 切换到 Expression 模式
4. 输入:`{{ $json.body }}`
**直接测试 Webhook**
用 curl 验证 webhook 是否工作:
```bash theme={null}
curl -X POST http://localhost:5678/webhook/your-webhook-id \
-H "Content-Type: application/json" \
-d '{"body": "Hello, can you introduce yourself?"}'
```
你应该收到包含 AI 响应的流式 JSON。
## 集成工作原理
完整流程如下:
1. 用户通过 QQ、微信、Discord、Telegram、Slack、LINE 或任何 LangBot 支持的平台发送消息
2. LangBot 的 Pipeline 接收消息并调用 n8n Workflow API
3. n8n 的 Webhook 节点捕获请求并传递给 AI Agent
4. AI Agent 使用 OpenAI、Claude、Gemini 或你配置的 LLM 生成回复
5. n8n 将响应流式返回给 LangBot
6. LangBot 将回复送达用户原来的平台
## 为什么这套组合很强大
**LangBot + n8n** 解锁了强大的能力:
1. **无代码 AI 逻辑**:在 n8n 中以可视化方式设计对话流程,无需触碰代码
2. **多平台覆盖**:同时在 QQ、微信、Discord、Telegram、Slack、LINE、钉钉、飞书部署相同的 AI
3. **灵活的 AI 模型**:在 OpenAI GPT、Anthropic Claude、Google Gemini、Coze、Dify、本地模型等之间自由切换
4. **丰富的集成**:连接 n8n 的 400+ 集成——数据库、API、Notion、Airtable、Google Sheets、Slack 等
5. **工具调用 Agent**:AI Agent 可以触发 n8n 工具,如数据库查询、API 调用或自定义函数
6. **工作流扩展**:添加预处理、内容审核、日志记录或自定义业务逻辑
**适合场景**:
* 企业客服机器人
* 知识库问答系统
* 多平台社群管理
* 任务自动化助手
* 团队统一聊天界面
## 下一步
进一步扩展你的机器人:
* 集成 Dify 或 FastGPT 实现高级 RAG(检索增强生成)
* 添加向量数据库节点(Pinecone、Qdrant、Weaviate)实现知识检索
* 连接业务 API 获取实时数据
* 实现对话记忆和上下文追踪
* 添加内容过滤和审核工作流
* 使用 Langflow 或 Coze 进行额外的 AI 编排
这套集成为你提供了基于代码的 AI 框架(如 LangChain)的灵活性,以及可视化工作流构建器的简洁性——同时覆盖所有主流消息平台。
准备好部署你的多平台 AI 助手了吗?立即开始使用 LangBot 和 n8n。